
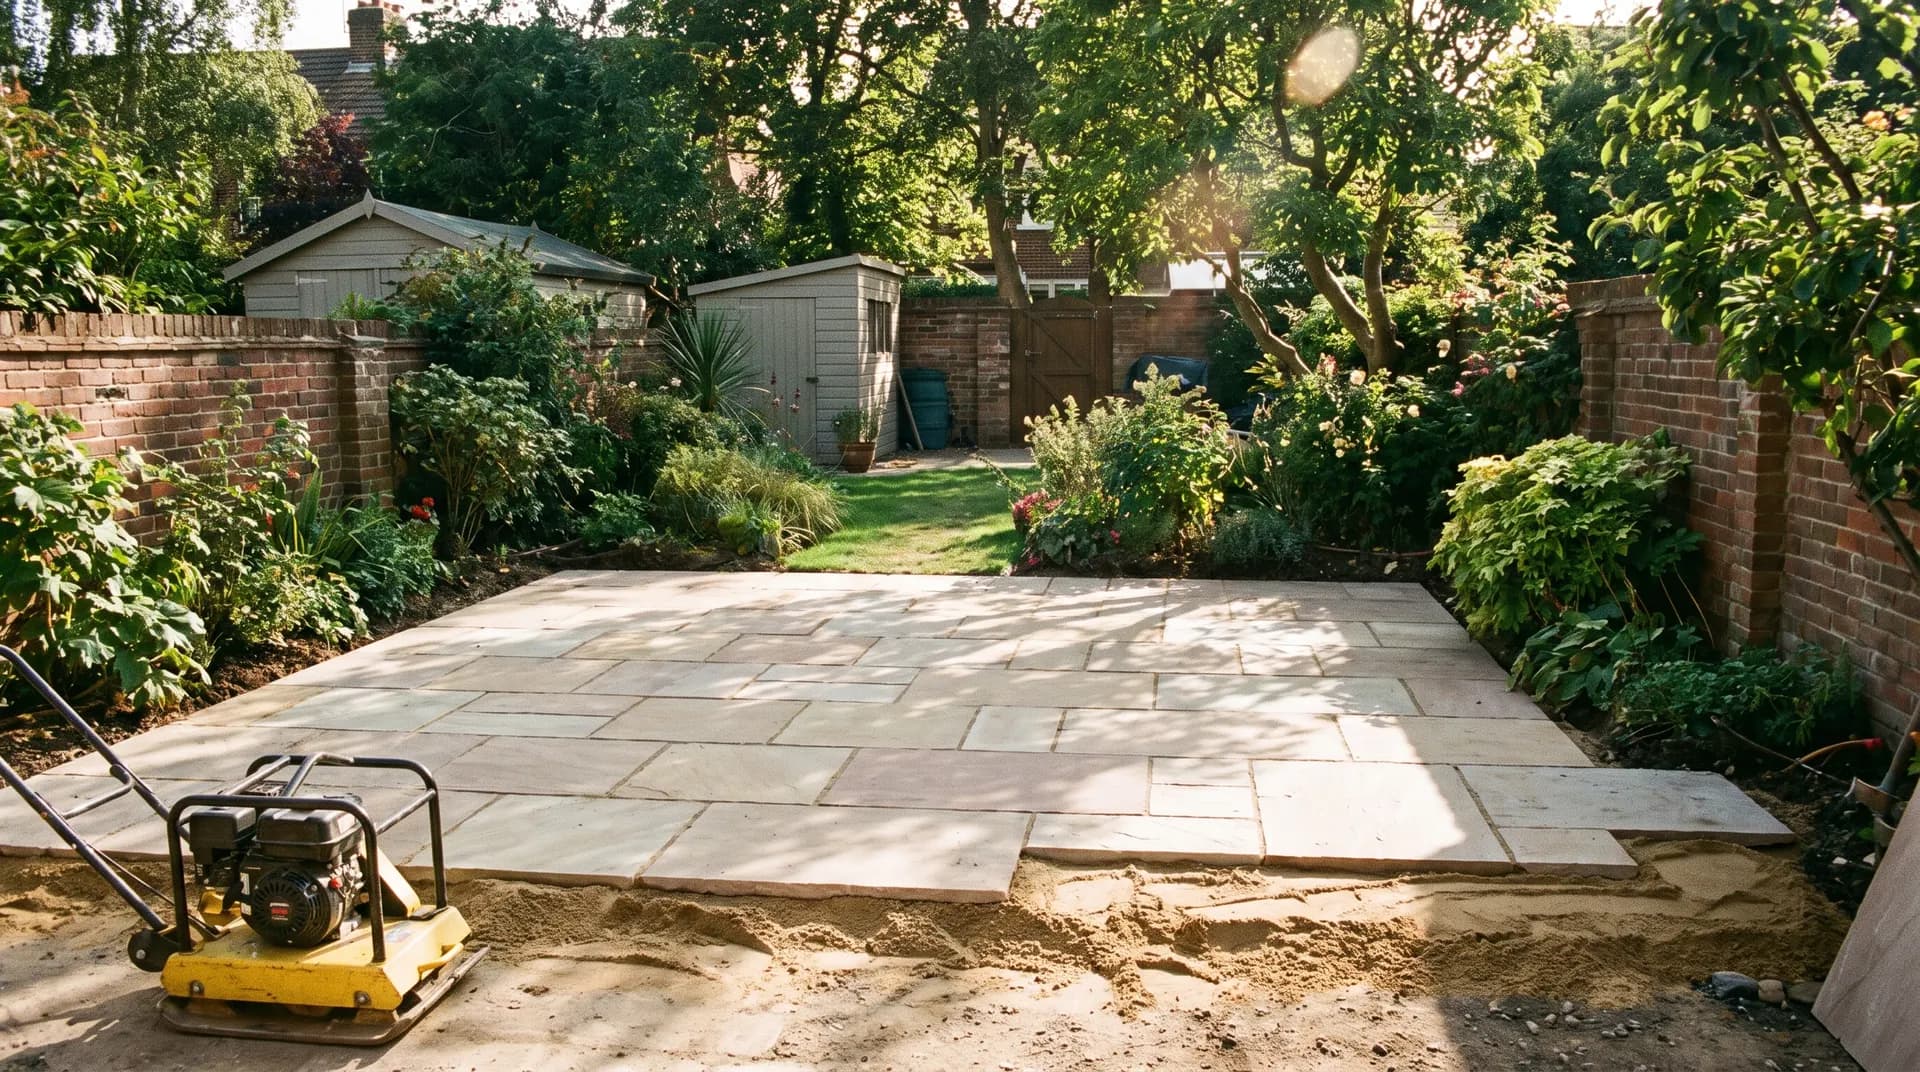
How to Lay a Patio
How to lay a patio that drains properly, stays level year after year, and looks crisp from every angle — from setting out the fall, through sub-base, bedding sand and pointing.
- Category
- Landscaping
- Difficulty
- Intermediate
- Time
- 1–3 days for a 20m² patio
- Read
- 5 min
Landscaping · Star Hawk Builders Merchant
How to lay a patio that drains properly, stays level year after year, and looks crisp from every angle — from setting out the fall, through sub-base, bedding sand and pointing.
5 min read 1–3 days for a 20m² patio IntermediatePublished 4 July 2026
Plan, measure and set the fall
Set out the patio area with pegs and string. Drive the pegs at the corners and the edges, then run string lines across the area to mark the finished patio level — remember to allow a 17mm-per-metre fall (1:60) running away from the house. Lay the strings first; everything else follows them.
Think about how the patio drains before you dig. The fall should carry water off the surface onto a lawn, a soakaway, or a slot drain — never back towards a wall or building. If the area is larger than about 25m², plan for a channel drain or two along the fall line so a heavy downpour doesn't pool.
Use a long spirit level to check the fall across the strings before any digging. The slope won't be visible by eye, but if you are off by 5mm at the high end you are 100mm off at 6m — too steep and water will run too fast, too shallow and water will pool.
Excavate the area
Strip the topsoil to the depth required for your build. The total excavation equals the slab thickness plus bedding sand (25–50mm) plus sub-base (100–150mm). For a typical 32mm concrete flag you'll be digging down roughly 175mm below finished level.
Mark it out twice, dig once. Use spray paint or a sharp spade to mark the finished patio height on surrounding walls or posts so you can see how deep you need to go as you dig.
Keep the base flat and firm. Remove any soft spots and backfill them with compacted sub-base. If you have tree roots in the way, dig around them rather than chopping through them — paving close to a tree often needs a root-protection membrane and a deeper, lean-mix sub-base.
Lay and compact the sub-base
MOT Type 1 is the standard sub-base for a domestic patio — a graded crushed stone that locks together when compacted. For a permeable build, use MOT Type 3 (open-graded) over a geotextile membrane so water drains through.
Spread the sub-base in two or three layers — never all at once — and compact each layer with a plate compactor. A 50mm-thick layer of uncompacted Type 1 will compact down to roughly 35–40mm; lay your layers that thick and you'll hit the right finished depth.
Hire a plate compactor for a day. Hand-tamping a patio sub-base is the slowest way to a problem patio.
Stop compacting when the surface is firm underfoot and rings with a solid thud rather than a dull thud when you tap it. Loose, soft sub-base is the leading cause of paving sinking within a year.
Add the bedding layer
Two main options, depending on what you're laying:
- Sharp sand only (dry laying) — for concrete flags of uniform thickness. Lay 25–40mm of sharp sand, screed it level with a timber straight-edge, then bed the slabs directly.
- Mortar bed (wet laying) — for natural stone of varying thickness or large-format flags. A 5:1 sharp-sand-cement mix gives a stiff, workable bed that won't squash underfoot. Lay it slightly proud and tap each slab into the final level.
Only screed as much bedding as you can pave before it dries or gets disturbed — about 3–4m² at a time on a hot day. Walking on a screeded bed leaves footprints that show through the finished patio.
Lay the slabs
Start in a corner — usually against the house or a fixed edge — and work outwards. Lay each slab onto the bedding with a 10–15mm joint between flags (use plastic spacers for consistency) and tap it down with a rubber mallet. Check the level and the fall every slab.
Tip: Dry-lay the first row along the longest straight edge before you mortar anything. It is much easier to correct the layout with no mortar in the way.
Cut slabs with an angle grinder and a diamond blade, or hire a block splitter for thicker flags. For curves, mark the cut with a flexi-curve or a piece of hose laid on the slab, then cut to the line. Wear eye and ear protection when cutting.
Lay the patio in even rows, working from the finished surface back towards the bedding — never step on freshly laid flags. If you do need to access a finished area, lay planks down to spread the load.
Point the joints
Once the slabs are bedded and the bedding has gone off (24 hours for a wet bed, immediately for a dry bed), fill the joints. Two options:
- Dry mortar pointing — sweep a 4:1 sharp-sand-cement mix into the joints, compact it with a trowel or pointing iron, then mist the surface with water to set it.
- Resin jointing compound — sweep in a pre-bagged permeable resin compound (such as Roma or EasyJoint), wet it down, and it cures hard in 24 hours. More expensive but much faster, and it's permeable so water drains through.
Whichever you use, fill the joints to the full slab depth — shallow joints crack and let weeds in within a season. Brush the surface off before the mortar sets hard, otherwise the haze becomes a permanent stain.
Materials and tools checklist
Materials
- Paving slabs — Indian sandstone, concrete flags, or porcelain
- MOT Type 1 sub-base — allow roughly 150kg per m² at 100mm depth
- Sharp sand — both for bedding and for the mortar pointing
- Cement — for the mortar pointing (or pre-bagged pointing mortar)
- Jointing compound — dry sand-cement or resin-based
- Geotextile membrane (optional) — keeps the sub-base clean if ground is clay
Tools
- Spade and wheelbarrow
- Plate compactor (hire)
- Rubber mallet
- Long spirit level (1.2m or longer) and a 4-foot straight-edge for screeding
- String line and pegs
- Angle grinder with a diamond blade (or block splitter hire)
- Soft brush and pointing trowel
When to call a builder
A 15m² patio is a great DIY project for a long weekend; a 60m² patio that drops 600mm across its length is a different scale of work. Get a builder in if:
- The excavation is over 200mm deep or the ground is awkward
- The area needs significant levelling or retaining
- You want large-format porcelain — these are unforgiving and need a full mortar bed
- Time matters more than budget
We supply the full kit — Type 1, sharp sand, slabs, jointing compound, even the compactor hire — delivered next-day across the South East at trade prices.
Frequently asked questions
What is the correct fall on a patio?
1:60 is the standard — that's about 17mm of fall per metre. The fall should run away from any building, never towards it, and ideally aim onto a lawn or a soakaway. A long spirit level with a fall gauge or a string line and tape measure is the simplest way to check.
How deep should I dig for a patio?
The total excavation depth depends on your slab thickness, but the typical formula for a domestic patio is 100–150mm of sub-base plus 25–50mm of sharp-sand bedding plus the slab thickness. Most Indian-stone or concrete flags are 25–35mm, so plan for around 175–225mm below the finished surface.
Do I need a sub-base for a patio?
Yes, always. MOT Type 1 (or Type 3 for a permeable build) compacted in layers gives the patio its long-term stability. Skipping the sub-base is the single biggest cause of patios sinking, rocking and pooling within a year or two.
Can I lay a patio on sand only?
Only for very light pedestrian use on firm, well-drained ground — and even then it'll need re-bedding every few years. For anything that takes regular foot traffic, furniture, wheelie bins or a barbecue, you need the compacted sub-base.
What is the difference between a wet and dry laying method?
Wet laying uses a full mortar bed (5 parts sharp sand to 1 part cement), which is great for large-format or uneven natural-stone flags. Dry laying (sharp sand only) is faster and easier for concrete flags of uniform thickness, but the slabs can shift slightly over time.
When do I need planning permission for a patio?
Generally not, unless the patio covers more than 5m² and you are not using a permeable surface, in which case you may need to apply for permitted-development consent for the run-off. Get in touch with your local authority if in doubt.
Ready to start? Get a landscaping materials list.
Send us your measurements or project plan and we'll come back with stock, a written quote and a delivery slot — usually within the hour during trade hours. from £30 per m² (materials only, excluding slabs) for typical installs.
Related how-to guides
More step-by-step walkthroughs to help your project run smoothly.
How to Build a Block Wall
How to build a clean, level block wall that will stand the test of time — from setting out, through the foundation, mortar mix and laying every course to a crisp brushed finish.