
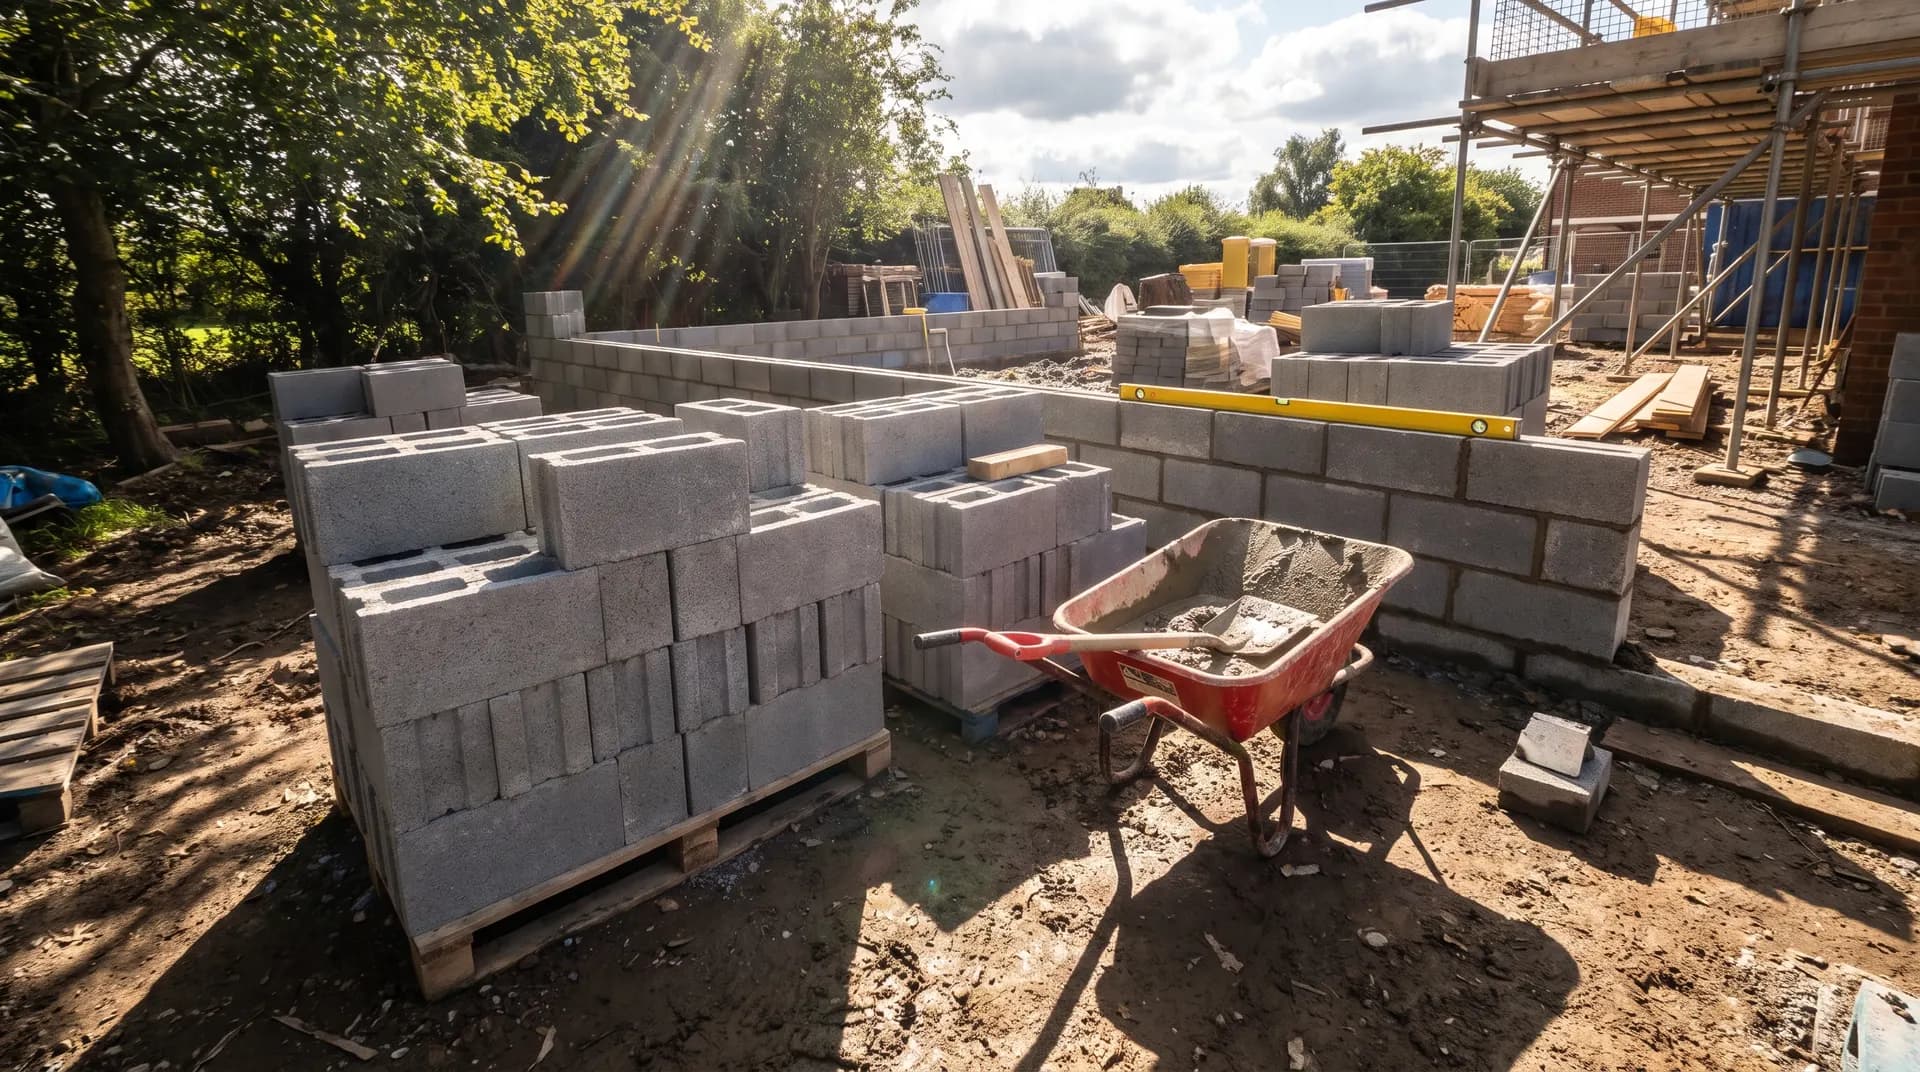
How to Build a Block Wall
How to build a clean, level block wall that will stand the test of time — from setting out, through the foundation, mortar mix and laying every course to a crisp brushed finish.
- Category
- Masonry
- Difficulty
- Intermediate
- Time
- 1–2 days for a 3m wall
- Read
- 6 min
Masonry · Star Hawk Builders Merchant
How to build a clean, level block wall that will stand the test of time — from setting out, through the foundation, mortar mix and laying every course to a crisp brushed finish.
6 min read 1–2 days for a 3m wall IntermediatePublished 4 July 2026
Plan, measure and set out
Before you mix a single bucket of mortar, take an hour to set the wall out properly. The first course sets the alignment for everything above it, so getting it right saves hours of remedial work later.
Start by marking the wall line with string lines and pins driven into the ground at each end. Use a builder's square (the 3-4-5 method works well over a longer run: 3m along the line, 4m across, the diagonal should be exactly 5m) to make sure the corners are true. Drive the pins in so the string is taut at finished-course height — for a single-skin wall, typical block height is 215mm with a 10mm bed joint, so a 6-course wall is roughly 1.35m above the footing.
Mark the foundation trench on the ground using a spray marker or sharp spade. The trench should be at least twice the wall width so there's enough bearing for the footing — typically 450mm wide for a 215mm single-skin wall. Allow extra if you're building on soft clay.
Tip: if you are building on a slope, set out the wall in steps — never step the foundation itself. The first course of blocks should be level across the entire run regardless of the ground going up or down.
Excavate and pour the foundation
Dig the trench to the depth required by your local ground conditions and wall height — usually 225–300mm below finished ground level for a non-load-bearing garden wall, deeper on poor ground. Keep the base firm and flat; you don't want any soft spots that will settle unevenly.
Pour a concrete mix of 1 part cement to 5 parts all-in ballast, or use a pre-mix post / foundation concrete for smaller jobs. For a typical garden wall the footing only needs to be around 100–150mm thick — it isn't load-bearing, it's just there to spread the load over the soft ground. Tamp it level with a piece of timber, leave it proud of the surrounding ground by a couple of courses, and let it cure for at least 24 hours (48 in cold weather) before you start laying blocks.
If your wall is load-bearing (a garage, retaining wall or anything tying into a building), the foundation depth, width and reinforcement need an engineer — not a guess.
Mix the mortar
For above-ground blockwork use a 1:4 mix by volume — one part Portland cement to four parts sharp sand. Add a plasticiser to make the mortar easier to work and improve bond — most builders add a splash per mix. If you'd rather skip the measuring, our bagged Hanson or Blue Circle quality-assured mortar is consistent and saves time.
Mix only what you can use within an hour, especially in warm weather. A board mixer or a sturdy wheelbarrow with a spade both work for small batches; for anything bigger, hire a small mixer for a day. The mix should be workable but not sloppy — it should hold its shape on a trowel without slumping.
Common mistake: adding too much water. It makes the mortar easier to spread but weakens it and causes shrinkage cracks. Add water gradually until the mix just holds together when squeezed.
Lay the first course
The first course is the most important — it sets the level for the entire wall. Bed the corner blocks first onto a full mortar bed about 10–15mm thick. Tap each one level along its length and across the top with a rubber mallet, checking with a long spirit level.
Run a string line taut between the corners to align the remaining blocks. Lay them into a fresh mortar bed, leaving a 10mm perpend joint between each block, and tap them down so they sit just proud of the line. Once the full course is laid, run the spirit level across the tops — every block should be at the same height. If one is proud, lift it and re-bed; if one is low, lift and add mortar underneath.
Sweep the excess mortar off the top of the course and you are ready for the next one.
Build up the wall
From the second course up, work in stretcher bond — every block overlaps the joint below by half a block. Cut half blocks at the ends of each course as needed using a bolster and lump hammer, or hire a block splitter for longer runs.
Three-block rule for an accurate wall: check the level, the line and the plumb — every course, on every block.
- Mortar beds: Apply mortar to both bed faces and one perpend for each block. Keep the bed full — not stripped — to avoid cold joints.
- Wall ties: If you are building a cavity wall, bed wall ties into the mortar joint at 450mm vertical spacing, 900mm horizontal — or per the engineer's spec.
- Damp-proof course: Bed a DPC at least 150mm above ground level to stop ground moisture wicking up. Overlap DPC at corners and joints by 100mm.
Check every three courses with a long spirit level — both the face and the perpendicular — to make sure the wall is staying true. If a course drifts off, ease it back with the mallet before the mortar stiffens.
Install openings, copings and finishes
If your wall has an opening — a doorway, gate post or letter-box slot — install a lintel above it before you build above. For a small garden-wall opening, a concrete or steel lintel is usually enough; for anything over a metre span, follow the engineer's specification.
Finish the top of the wall with coping stones or a cast-in-situ capping. Copings should overhang the wall by 30–40mm on each side and have a drip groove on the underside so water runs clear of the face rather than staining the wall below.
Point the joints
Once the mortar has thumb-dry (firms up under light thumb pressure but doesn't smudge), point the joints. Use a jointing iron or a piece of 12mm hose for a round, weather-resistant finish; a pointing trowel for a flush or recessed finish. Brush the wall down with a soft brush once the pointing has firmed but before the mortar is fully hard, to flick off smear and bring the aggregate to the surface for a clean look.
Materials and tools checklist
Materials
- Concrete blocks — solid 7N for garden walls, 3.5N facing for above-ground only
- Sharp sand — for mortar and for bedding slabs in a patio
- Portland cement — or a quality-assured bagged mortar mix
- Wall ties (if building a cavity wall)
- Damp-proof course (DPC) — 100mm strip wider than the wall
- Plasticiser — improves workability
- Coping stones or cast-in-situ cap
Tools
- Wheelbarrow and spade
- Rubber mallet
- Spirit level (long — 1.2m or longer)
- Builder's line and pins
- Bolster and lump hammer (or block splitter hire)
- Jointing iron or pointing trowel
- Soft brush
When to call a builder
A one-bay garden wall is a satisfying DIY weekend; a 20-metre boundary wall in clay is a different story. Get a quote from a local builder if:
- The wall is taller than 1m or anywhere near a highway
- The ground is poor, sloping, or close to other structures
- The wall is structural (part of a building, retaining wall, etc.)
- You need it done quickly to a deadline
Either way, we've got the materials at trade prices and can deliver next-day across the South East.
Frequently asked questions
How deep should the foundation be for a block wall?
For a non-load-bearing garden wall up to about 1m tall, a strip foundation 225–300mm deep and twice the wall width is usually enough. For anything load-bearing, taller than 1m, or built in poor ground, get a structural engineer or building-control approval — foundations can go to 450mm+ and need reinforcement.
What is the best mortar mix for blockwork?
Use a 1:4 cement-to-sharp-sand mix for general blockwork above ground. For below-ground or parapet work, use a 1:3 mix or a pre-bagged quality-assured mortar. We stock blue-circle Hanson and various bagged options if you'd rather skip the measuring.
Can I build a block wall in the rain?
Avoid it. Fresh mortar needs to cure, and heavy rain will wash out the cement, weaken the joint and cause white staining. If the weather is borderline, cover the top of the wall overnight with a tarp and don't lay more than you can finish in a day.
Do I need building regulations for a block wall?
Generally not for a garden wall under 2m and not next to a highway. Walls over 2m, retaining walls, or anything forming part of a building are usually subject to building regulations or structural sign-off. Check with your local authority before you start.
What is the difference between a single-skin and cavity block wall?
A single-skin wall is one block wide — typical for sheds, planters and garden walls. A cavity wall is two skins with a 100mm gap between them, tied together with wall ties — used for houses and garages where insulation and a damp-proof course are required.
Ready to start? Get a masonry materials list.
Send us your measurements or project plan and we'll come back with stock, a written quote and a delivery slot — usually within the hour during trade hours. from £22 per m² (materials only) for typical installs.
Related how-to guides
More step-by-step walkthroughs to help your project run smoothly.
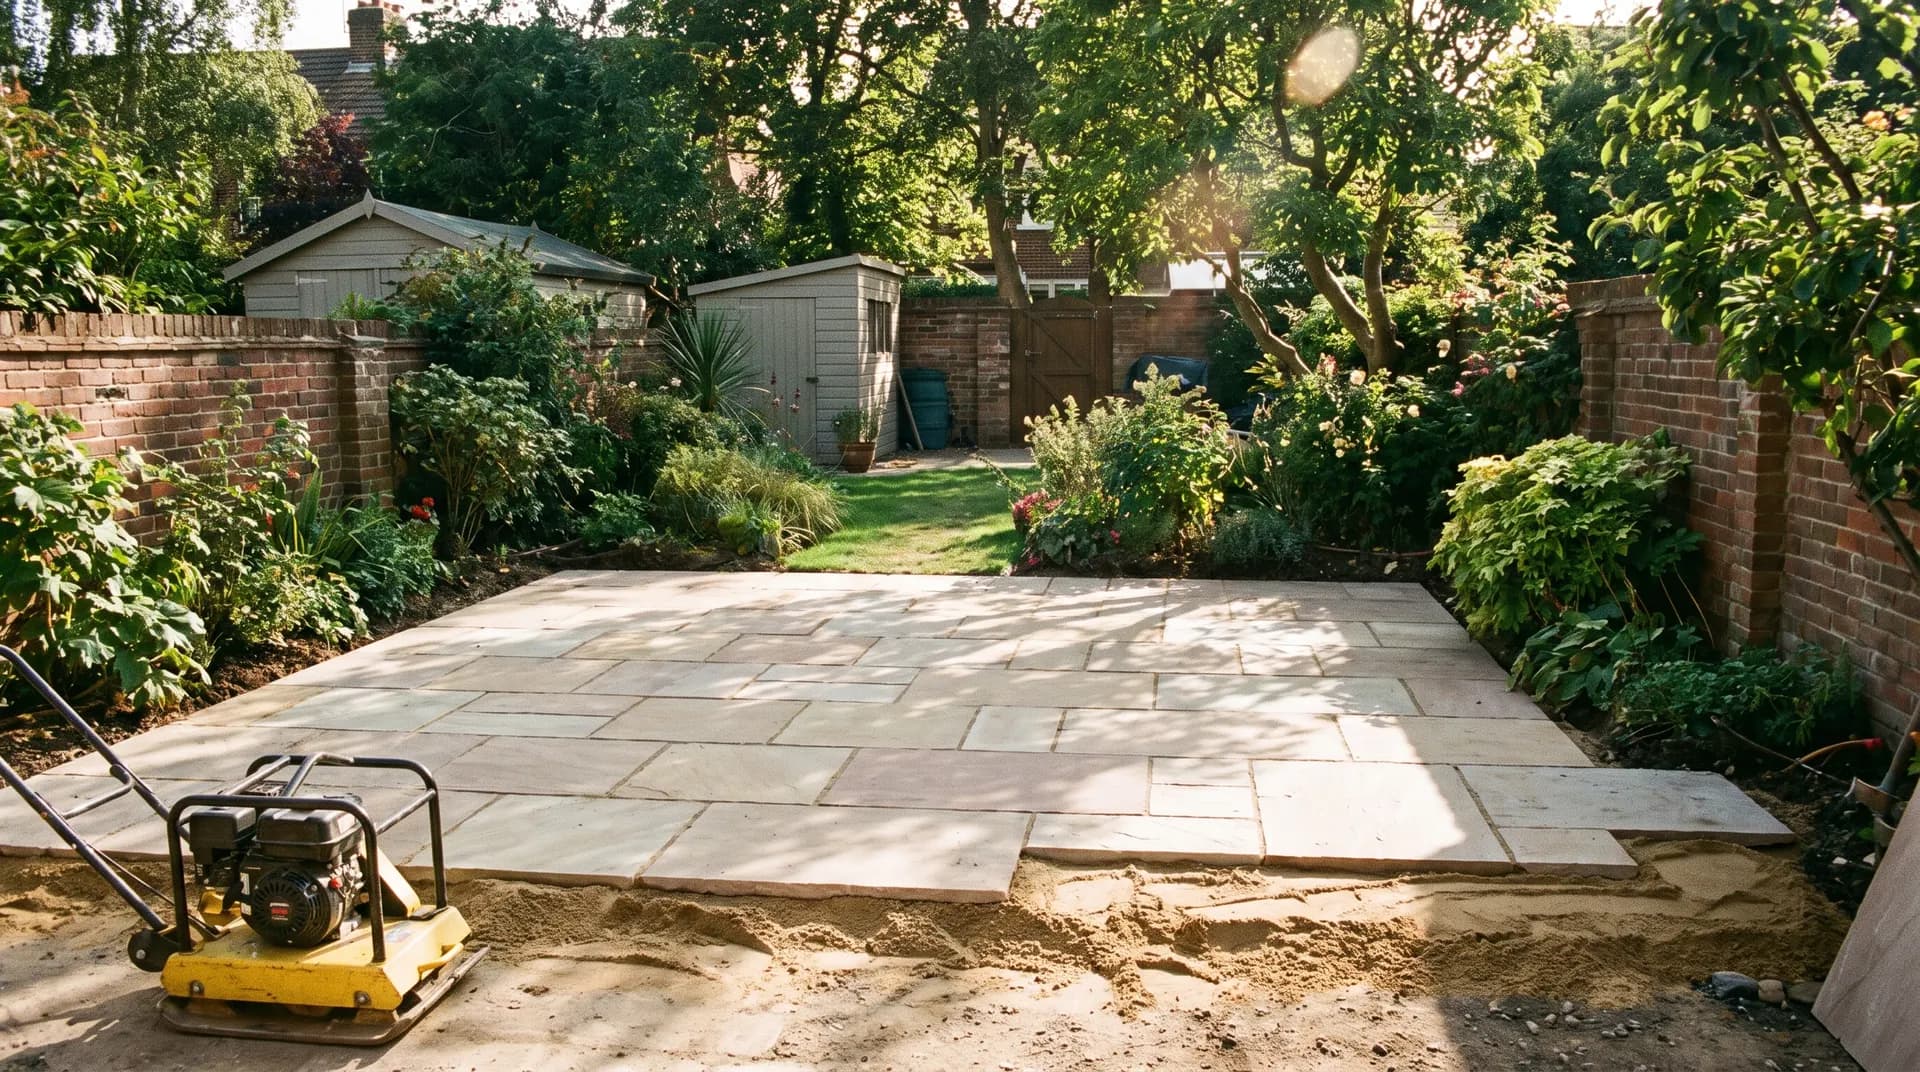
How to Lay a Patio
How to lay a patio that drains properly, stays level year after year, and looks crisp from every angle — from setting out the fall, through sub-base, bedding sand and pointing.