
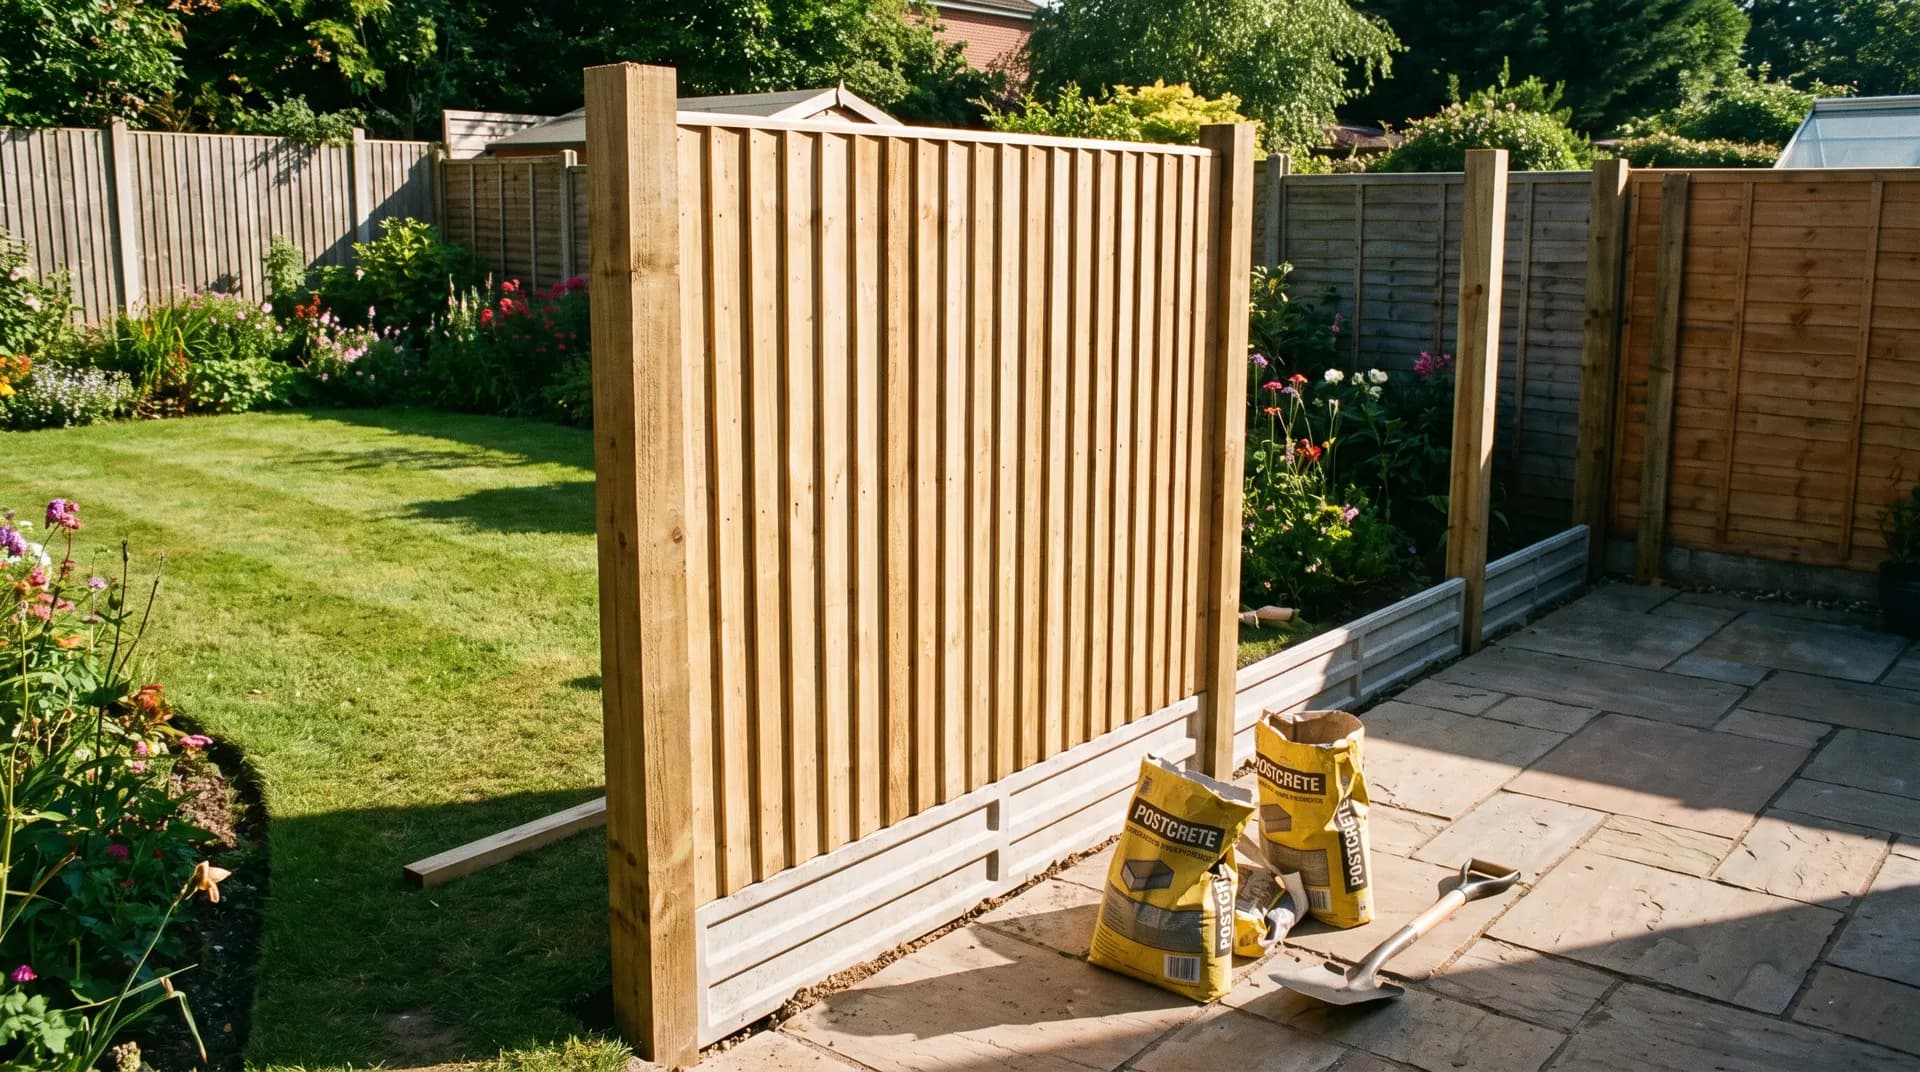
How to Build a Fence Panel
A practical guide to building a close-boarded timber fence panel that will outlast a dozen British winters — from setting out the line and digging post holes, to fixing the rails, featheredge boards and a gravel board.
- Category
- Fencing
- Difficulty
- Beginner friendly
- Time
- Half day per panel section
- Read
- 5 min
Fencing · Star Hawk Builders Merchant
A practical guide to building a close-boarded timber fence panel that will outlast a dozen British winters — from setting out the line and digging post holes, to fixing the rails, featheredge boards and a gravel board.
5 min read Half day per panel section Beginner friendlyPublished 13 July 2026
Plan the run
Measure the length of the fence and divide it into panel sections — 1.8m or 2.0m is the standard spacing for most timber fence panels. Mark the position of each post. Check for services (gas, water, electric, BT) with a CAT scanner before you dig — fines for hitting a cable run into four figures.
Most domestic fences can be up to 2m tall without planning permission (1m if the fence fronts a highway). Side-by-side, the higher of the two fences owns the rule, so if your neighbour has a 1.8m fence, you can match it without permission. Conservation areas, listed buildings and new-builds often have stricter rules.
Tip: before you dig, run a string line between the start and end of the fence run to confirm it's straight and on your side of any boundary. Hedges, fences and walls often move over decades; the legal boundary is often somewhere you don't expect.
Dig the post holes
Each post hole should be about 600mm deep for an 1.8m fence, more in soft ground. As a rule of thumb, a third of the post length should be in the ground. The width is roughly three times the post dimension — about 250mm × 250mm for a 75mm post.
Tip 100mm of gravel into the bottom of each hole for drainage — without it, water pools around the foot of the post and rots it from below. Place the post on a couple of bricks in the gravel to hold it upright, then brace it plumb in both directions using two timber battens screwed to the post and staked into the ground.
Common mistake: setting the post too shallow in soft ground. In clay soils especially, frost action lifts the post year on year — within a season you'll see the post lean and the fence lean with it. Go at least 600mm deep, more in clay.
Set the posts in post-mix
Post-mix concrete is the right way to fix fence posts — it sets in minutes and you don't need to mix anything. Fill the hole to within 50–100mm of the surface with the dry (or pre-dampened, depending on the brand) post-mix and water. Most post-mixes cure fully within 10 minutes — by the time you've moved on to the next hole, the previous post is set.
Re-check the plumb after the post-mix goes off — if it has moved, you have about 30 seconds to nudge it back before it sets hard.
Use a string line between the first and last post to line up all the intermediate posts. Check the height with a spirit level or laser.
Fit the rails
Cut the arris rails (the horizontal timbers that hold the featheredge boards) to span between adjacent posts. Use rail brackets or arris rail mortice joints cut into the post to fix them at the right heights: typically a bottom rail about 150mm above the gravel board, a top rail about 150mm below the top of the post, and one or two intermediate rails between.
Most UK fence installations use three rails for a 1.8m fence: bottom, middle, top. The boards are then fixed to the rails with the featheredge "feather" running from low to high so each board overlaps the one below by 25mm or so.
Check each rail is level before fixing — a wonky rail means a wonky fence line.
Fix the featheredge boards
Featheredge boards are tapered timber boards (usually 125mm × 22mm at the thick end, tapering to 3mm or so at the thin end). They overlap to form the "close-boarded" face. Fix them with galvanised or stainless-steel nails, two per rail.
Start at the bottom of the fence with the thick end down (so water runs off the rounded face), then fix each subsequent board so it overlaps the lower board by about 25mm. Use a board spacer or offcut to set the overlap — keep it consistent or the fence looks ragged.
Tip: stagger the joints between boards so you don't get a vertical seam every metre. Pick boards that fit the run and cut to length so the joints don't land on the same rail.
Add the gravel board and capping
The gravel board is a pressure-treated timber board (or a pre-cast concrete board) that sits on the ground under the rails, lifting the featheredge boards off the wet ground. Slot it into gravel board brackets fixed to each post. Concrete gravel boards last 25+ years; timber ones will need replacing within 10–15.
Cap the top of each post with a post cap (a small pressure-treated or decorative timber cap) to stop water sitting on the cut end of the post and rotting it down.
Materials and tools checklist
Materials
- Fence posts (75mm × 75mm × 1.8m, UC4-treated for ground contact)
- Arris rails (typically 75mm × 75mm × 1.8m)
- Featheredge boards (typically 125mm × 22mm, sold in bundles of 5)
- Gravel board (timber or concrete)
- Post-mix concrete
- Rail brackets and gravel board brackets
- Stainless-steel or galvanised nails
- Post caps
- Timber battens (for bracing)
Tools
- Tape measure and string line
- Post-hole digger or spade
- Spirit level (long, or a laser)
- Hand saw or circular saw
- Hammer or nail gun
- CAT scanner (for buried services)
When to call a fencer
Six fence panels in a straight run is a perfectly achievable weekend; a multi-level fence with returns, gates, or built-in planters is more involved. Get a fencer in if:
- The fence is over 2m tall (planning permission + safety)
- You're replacing a boundary fence with a different material (legal position may need a party-wall agreement)
- The ground is heavy clay or very stony
- The run is long (over about 20m) and needs a concrete or gravel-board base
- You want matching posts and panels for an existing run
We supply posts, rails, featheredge, gravel boards, post-mix and fixings at trade prices, with next-day delivery across the South East.
Frequently asked questions
Do I need planning permission for a new fence?
Front garden fences over 1m tall need planning permission in the UK. Rear and side fences can be up to 2m without permission. If your fence is on or near a highway boundary, the limit is 1m. Always check with your local planning authority before you start, especially near listed buildings.
What is the best type of post for a fence?
Use pressure-treated timber posts (75mm × 75mm) for most domestic fences. For a stronger, longer-lasting fence, use UC4-treated fence posts rated for ground contact. Concrete posts last much longer than timber but cost a bit more — they're the standard for close-boarded fencing.
How deep should fence post holes be?
About 600mm deep for an 1.8m post, more in soft or sandy ground. The general rule: a third of the post length should be below ground. Fill the bottom of the hole with 100mm of gravel for drainage, then set the post in post-mix concrete.
Can I build a fence on top of an existing wall?
It's tempting but a heavy fence will eventually overbalance the wall, especially in strong winds. Either demolish the wall and replace with a fence on its own posts, or build a free-standing fence just inside the wall line and bolt the rails to the wall at each post position.
What is a gravel board for?
The gravel board is a pressure-treated board at the bottom of the fence that lifts the panels or featheredge boards off the ground. Without it, the bottom edge of the fence sits in standing water and rots within a few years. Concrete gravel boards last longer than timber and need no maintenance.
Ready to start? Get a fencing materials list.
Send us your measurements or project plan and we'll come back with stock, a written quote and a delivery slot — usually within the hour during trade hours. from £35 per metre (materials only) for typical installs.
Related how-to guides
More step-by-step walkthroughs to help your project run smoothly.
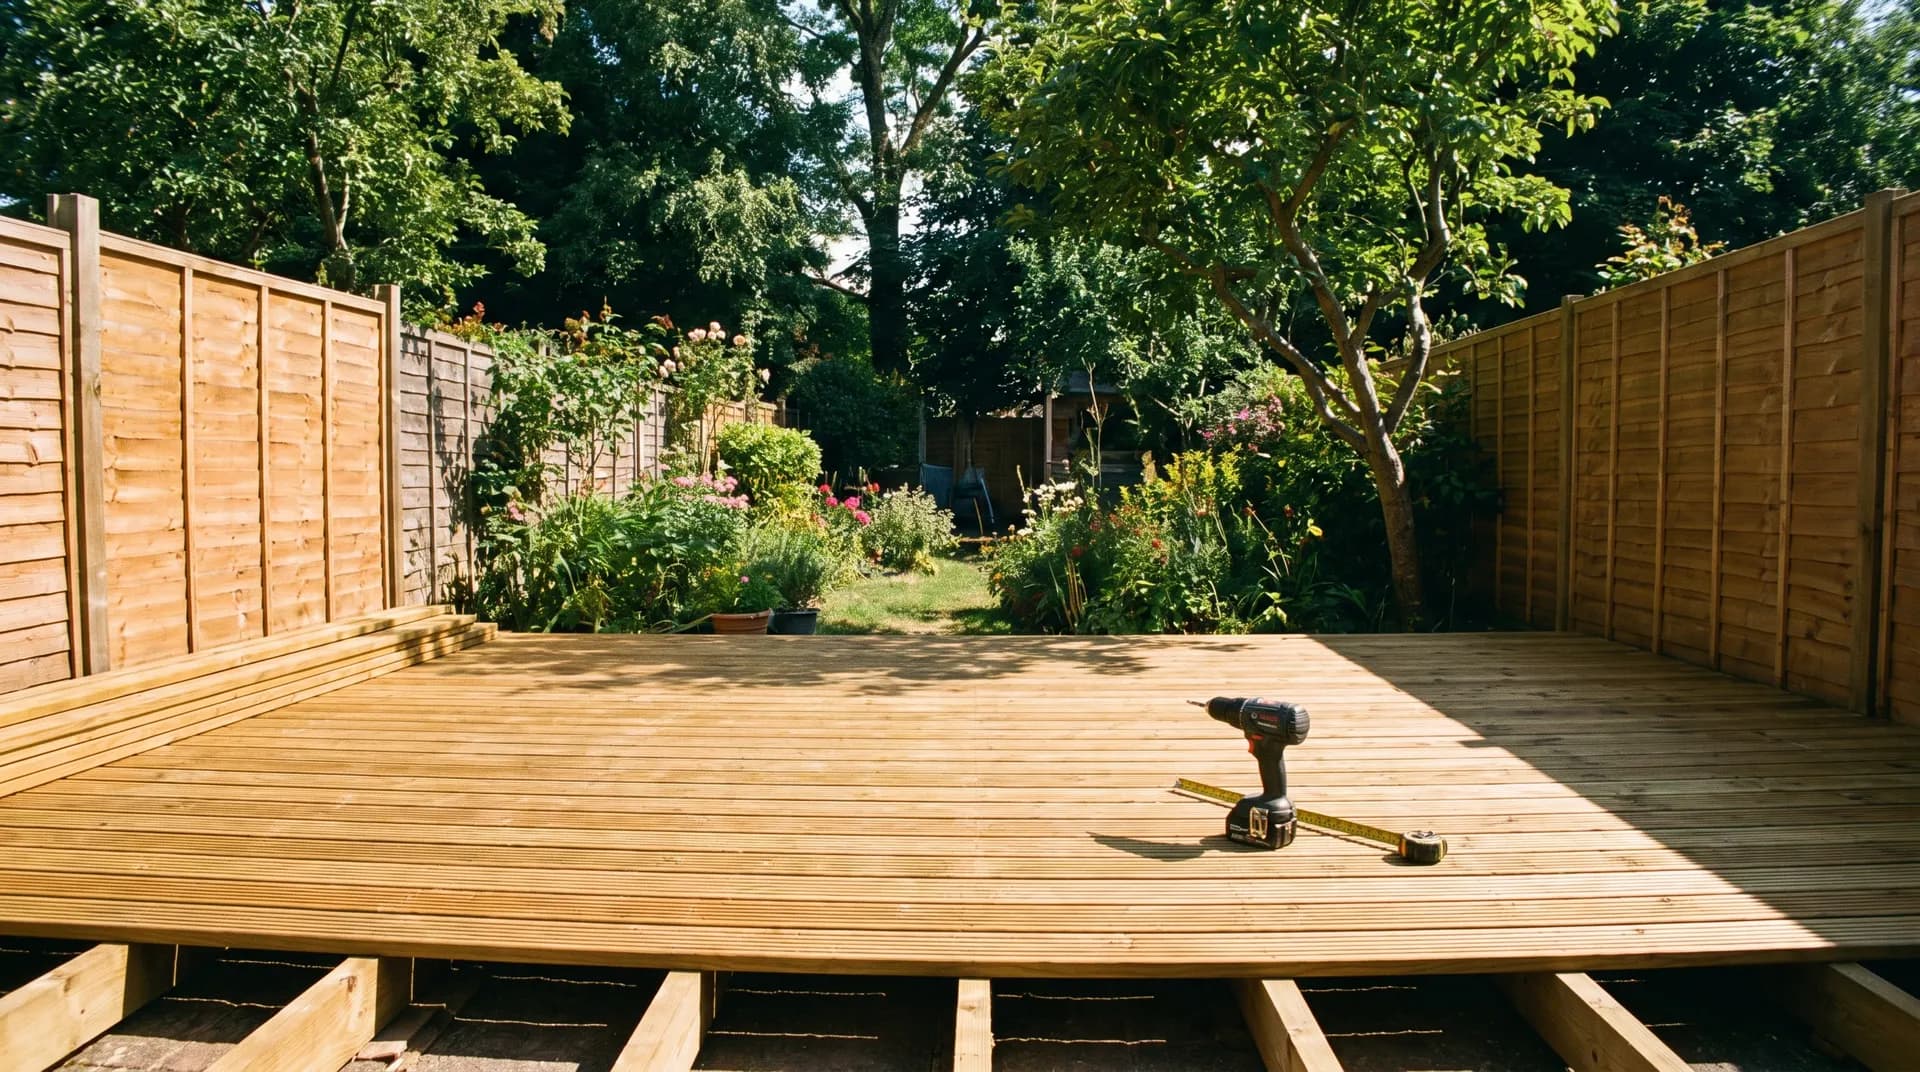
How to Build a Timber Deck
Plan, frame and finish a raised timber deck that will outlast the first ten winters — from setting out the post holes and pouring the post mix, to framing the joists and laying the boards.
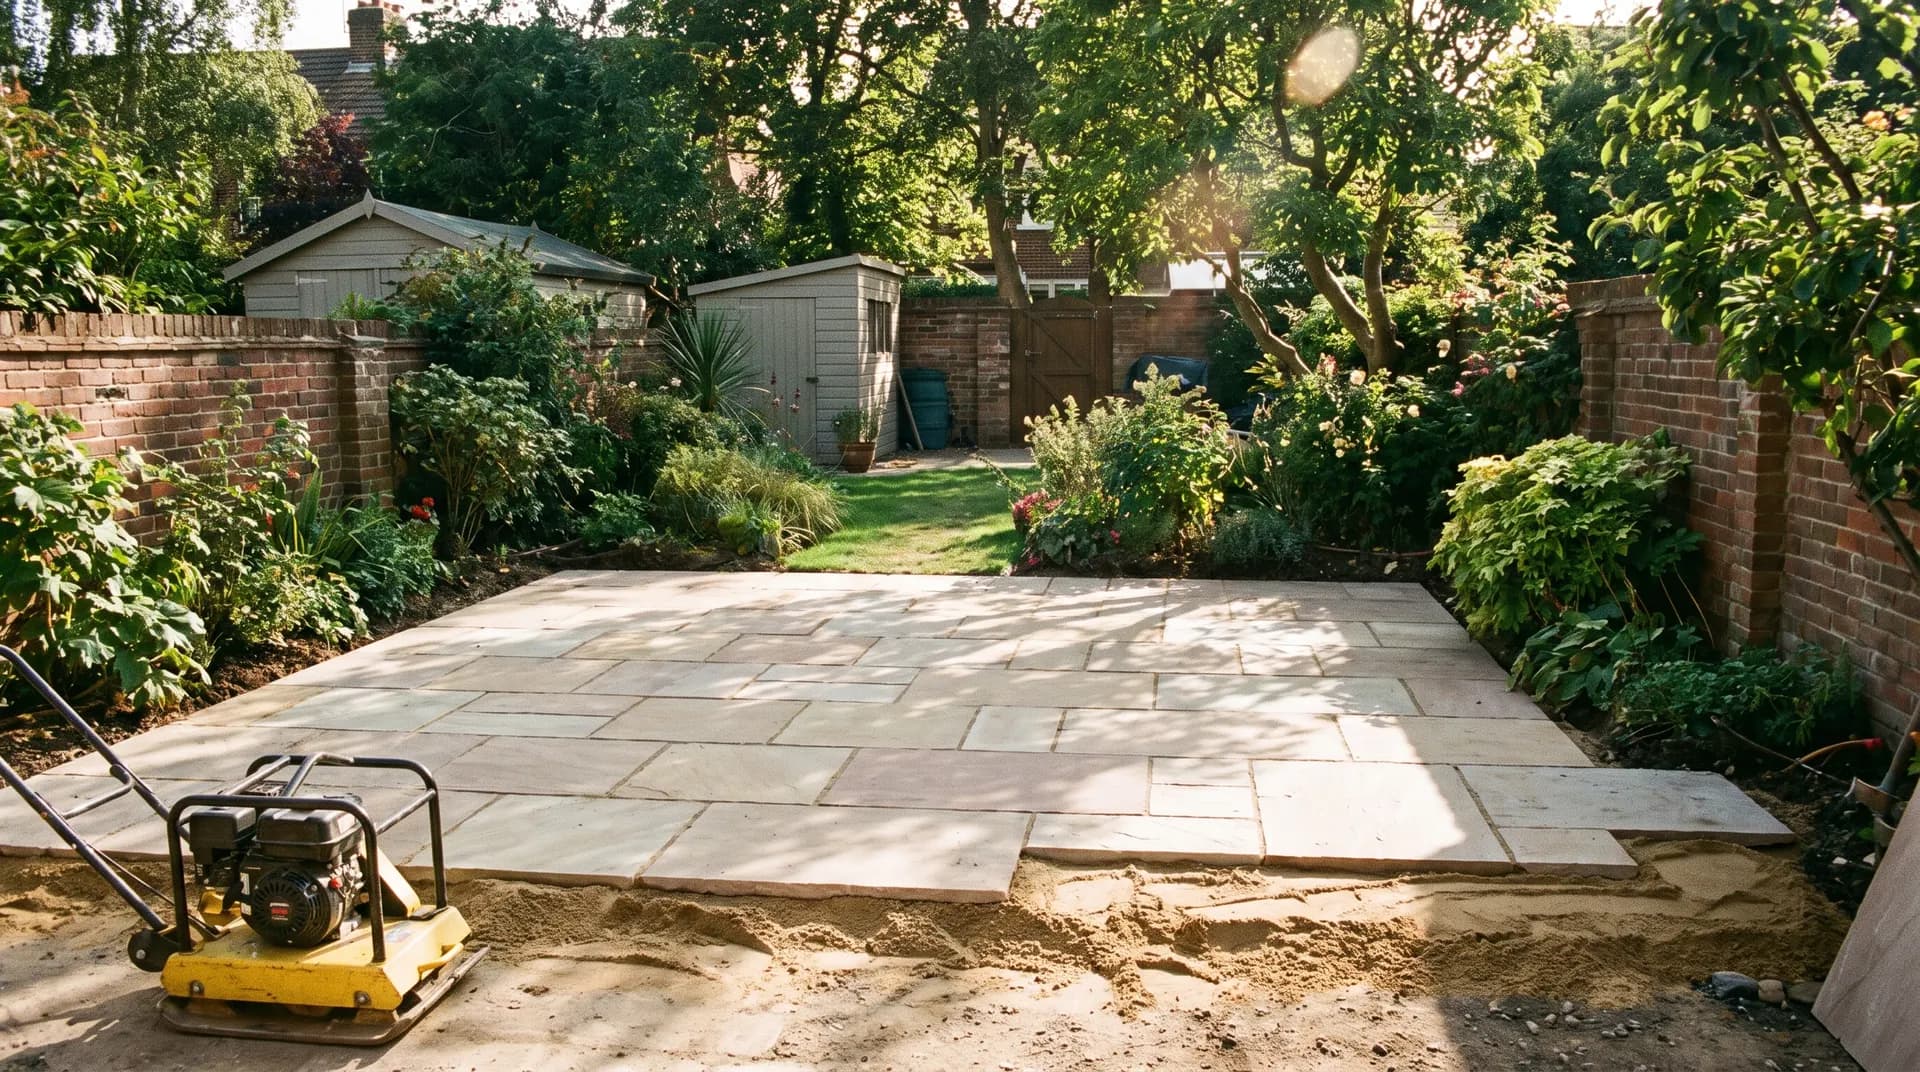
How to Lay a Patio
How to lay a patio that drains properly, stays level year after year, and looks crisp from every angle — from setting out the fall, through sub-base, bedding sand and pointing.