
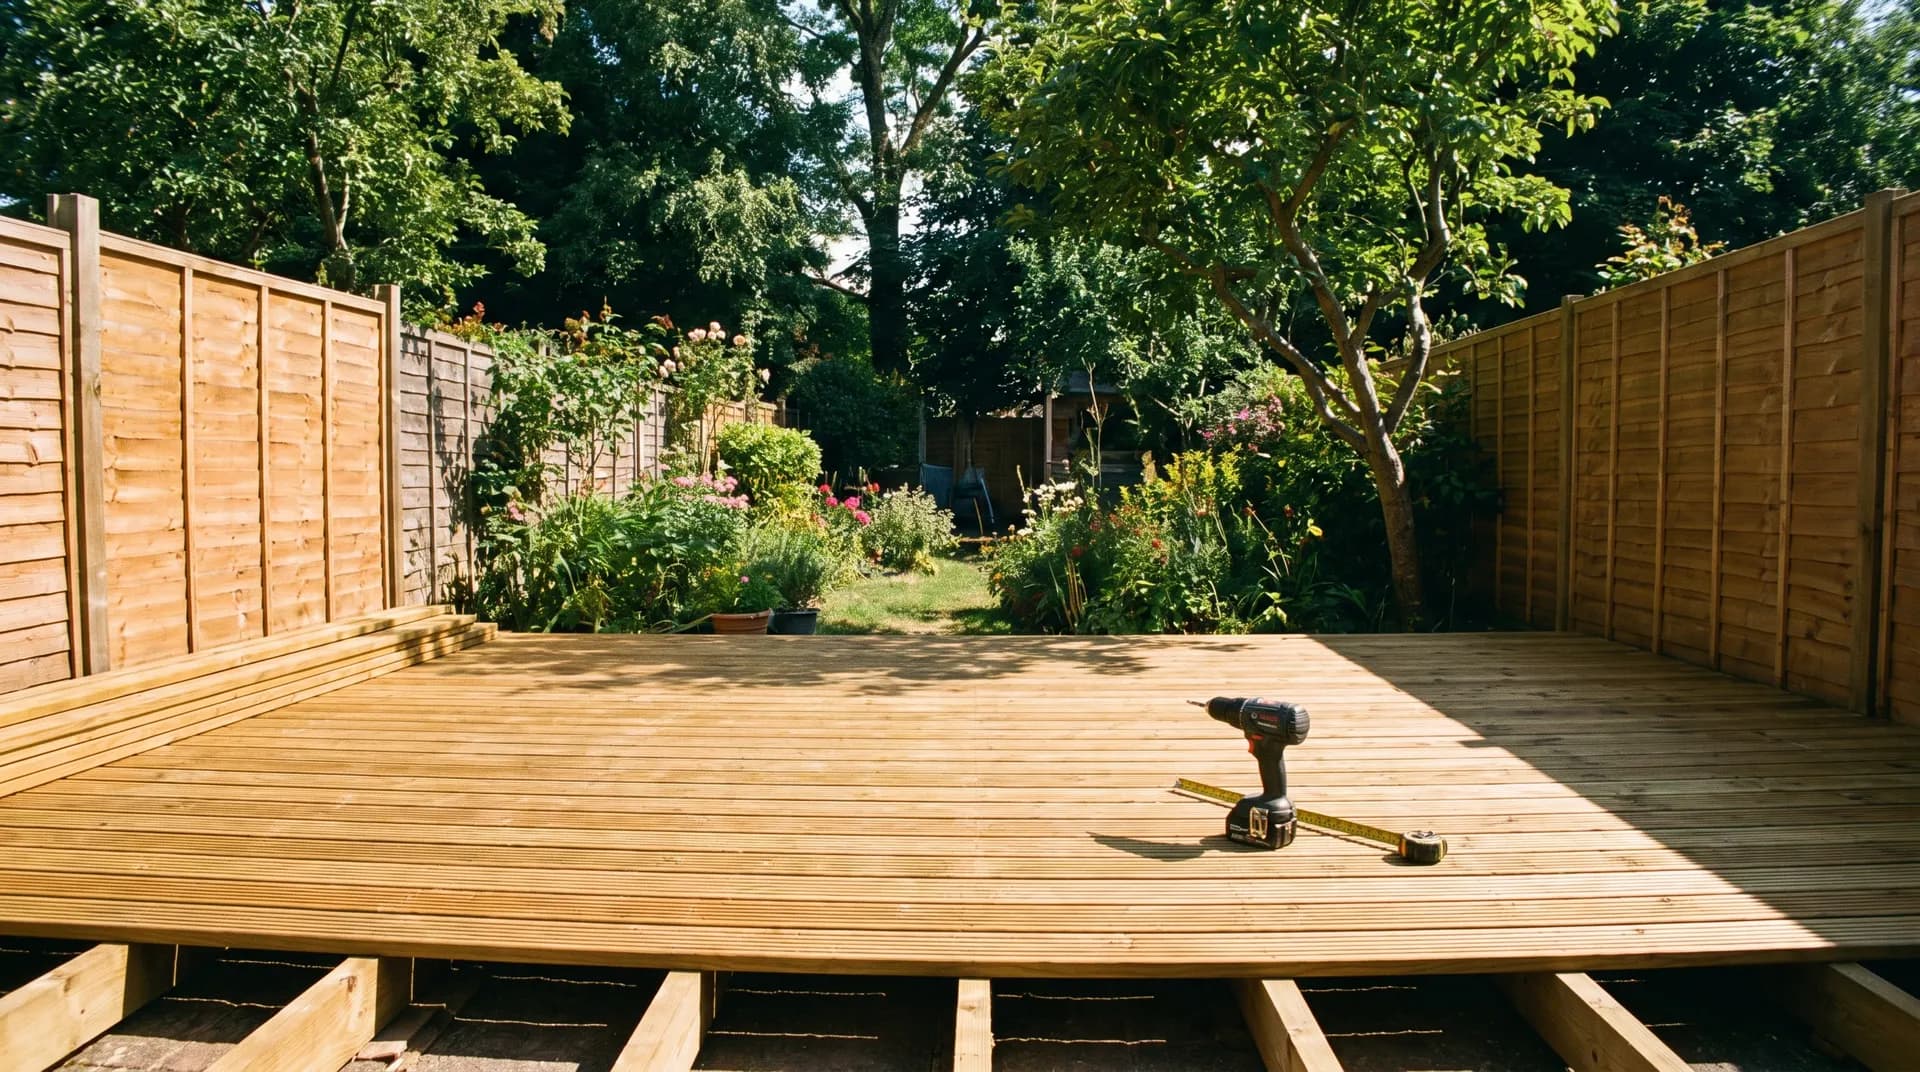
How to Build a Timber Deck
Plan, frame and finish a raised timber deck that will outlast the first ten winters — from setting out the post holes and pouring the post mix, to framing the joists and laying the boards.
- Category
- Carpentry
- Difficulty
- Intermediate
- Time
- 2–3 days for a 4m × 4m deck
- Read
- 5 min
Carpentry · Star Hawk Builders Merchant
Plan, frame and finish a raised timber deck that will outlast the first ten winters — from setting out the post holes and pouring the post mix, to framing the joists and laying the boards.
5 min read 2–3 days for a 4m × 4m deck IntermediatePublished 8 July 2026
Plan, design and check the rules
Before a single post goes in, sketch the deck on paper with the finished height, the size, the position of steps, and how it relates to the house. A raised deck over 30cm above ground may need planning permission if the total platform exceeds 30m² or any part sits within 20m of a highway — check with your local planning authority before you start.
Plan the direction of the deck boards so they run away from the main viewpoint — knots, warps and weathering are less visible across the line of sight than along it. Aim for the boards to fall slightly away from the house, even on a "level" deck, so rainwater runs off and doesn't sit in the grooves.
Tip: design the deck to use standard board lengths so you don't run a thin offcut against the wall. Standard softwood deck boards are 4.8m long; joists should land on standard multiples of that.
Set out post holes
Drive a peg at each corner and run a string line to mark the perimeter. Use the 3-4-5 method to keep it square, then mark out the intermediate post positions along the front and back rails — usually at 1.5–2.0m centres depending on the beam span.
Dig each post hole to at least 450mm deep (600mm in exposed or clay-soil sites) and about three times the post width. Tip 100mm of gravel into the bottom of each hole for drainage, then stand the post on a couple of bricks so it doesn't sit in standing water. Brace the post plumb in both directions.
Fill the hole to within 50mm of the surface with post-mix concrete, dry or set with a sprinkle of water depending on the brand. Check the post for plumb once more as the post-mix goes off — they set in minutes.
Frame the deck
Cut the posts to finished height once the post-mix has set, accounting for the beam thickness plus the joist thickness plus the deck board thickness. Cut a touch long and trim down — easier than having to add back.
Bolt the outer beams (typically 100mm × 200mm pressure-treated timber) to the outside of the post line using 150mm coach screws, two per post. Make sure the outer beams are level across their full length — that's the surface the deck boards will follow.
Set the inner beams (or "joists") on joist hangers at 400mm centres across the beams. Double up where two boards will meet on a single joist, so each board has its own fixing. Cut the joists to length with a square-cut, sharp saw — a wonky joist means a wonky deck.
Tip: lay a long straight-edge across the joists before you fix the boards. If any joist is proud, plane or sand it down — it's much harder to fix once the boards are down.
Lay the deck boards
Start laying boards at the outside edge of the deck, working back towards the house. Pre-drill the ends of boards to stop them splitting. Use two stainless-steel or coated deck screws per joist cross — coated screws last the life of the deck; cheap zinc screws will rust and stain the boards within a couple of years.
Leave a 5–8mm gap between boards using plastic spacers or a couple of offcut nails as a guide. The gap is for drainage, expansion in damp weather and shrinkage in dry weather; without it the boards will cup and buckle within a season.
Common mistake: not staggering the joints between board ends. Each end of a board must sit on its own joist, and no two joints in adjacent boards should land on the same joist. Stagger random-looking joints across the deck for a stronger and better-looking finish.
Cut the final board to width using a circular saw or jigsaw with a fine-tooth blade. Sand any cut ends of pressure-treated timber with a coarse grit and brush on end-grain preservative — the cut ends are the part most likely to rot because the treatment process doesn't fully penetrate.
Add the balustrade, steps and finishing
A balustrade is required on any deck over 600mm above ground. Use newel posts at each corner, intermediate posts every 1.2m or so, and a top rail plus an intermediate rail at 100mm max spacing (so a 100mm ball can't pass through). Plan the rail heights around 900–1100mm for domestic decks.
Build the steps last, after the deck frame is complete. Two or three risers at 150–200mm and treads at least 250mm deep is the comfortable range. Frame the steps in the same structural timber as the main deck and clad them with offcuts of the deck board.
Sweep the deck, brush off any iron filings or offcuts left by the saw, and apply a deck oil or stain if you want the boards to keep their colour. Untreated boards will go silvery grey in their first winter — that's the natural weathering process and isn't a defect. A coat of UV-protective oil every spring keeps the colour and slows surface checking.
Materials and tools checklist
Materials
- Pressure-treated posts (100mm × 100mm)
- Pressure-treated beams and joists (100mm × 200mm)
- Deck boards (typically 150mm × 32mm)
- Post-mix concrete
- Gravel for drainage
- Joist hangers and coach screws
- Stainless-steel deck screws (double the number of boards × joist count)
- Decking spacers
- Balustrade posts, rails and newels (if required)
- End-grain preservative
- Decking oil or stain
Tools
- Spade and post-hole digger
- Wheelbarrow
- Spirit level and string line
- Circular saw or handsaw
- Impact driver or drill with screwdriver bits
- Measuring tape and try square
- Random orbital sander (for board ends)
- Paint brush (for end-grain preserver)
When to call a carpenter
A 3m × 3m low-level deck on flat ground is a great project for a confident DIYer; a multi-level deck with balustrade, steps and integrated planters is more involved. Get a carpenter in if:
- The deck is over 600mm above ground (needs balustrade by Building Regs)
- The deck is attached to or supported by the house (needs careful detailing for damp)
- The ground slopes more than about 200mm across the deck footprint
- You want hardwood or a complex balustrade
We supply the posts, beams, joists, deck boards, fixings and post-mix at trade prices with next-day delivery across the South East.
Frequently asked questions
Do I need planning permission for a raised deck?
Raised decks over 30cm above ground may need planning permission if the total platform area exceeds 30m², or any size within 20m of a highway. Most domestic decks under this height and size are permitted development. Check with your local authority before you start.
What is the best timber for deck boards?
Pressure-treated softwood (typically Scandinavian redwood) is the standard for UK decks — affordable, durable and easy to work. Hardwood like oak or balau lasts longer but is heavier and harder on tools. Whatever you choose, make sure it's graded for outdoor use.
How deep do deck post holes need to be?
As a rule of thumb, post holes should be at least 450mm deep (600mm in exposed or windy locations) and three times the post width. Fill the bottom with 100mm of gravel for drainage, then set the post in post-mix concrete.
How far apart should deck joists be?
400mm centres for standard domestic deck boards. 300mm centres for thinner boards or if you want a more rigid feel underfoot. The spacing is driven by the deck board thickness, not the joist size.
Do I need to leave gaps between deck boards?
Yes. Leave a 5–8mm gap between boards to allow for drainage, expansion in damp weather and shrinkage in dry weather. Use plastic spacers or a couple of nail-widths as a guide, then pull them once the boards are fixed.
Ready to start? Get a carpentry materials list.
Send us your measurements or project plan and we'll come back with stock, a written quote and a delivery slot — usually within the hour during trade hours. from £90 per m² (materials only) for typical installs.
Related how-to guides
More step-by-step walkthroughs to help your project run smoothly.
How to Lay a Concrete Base
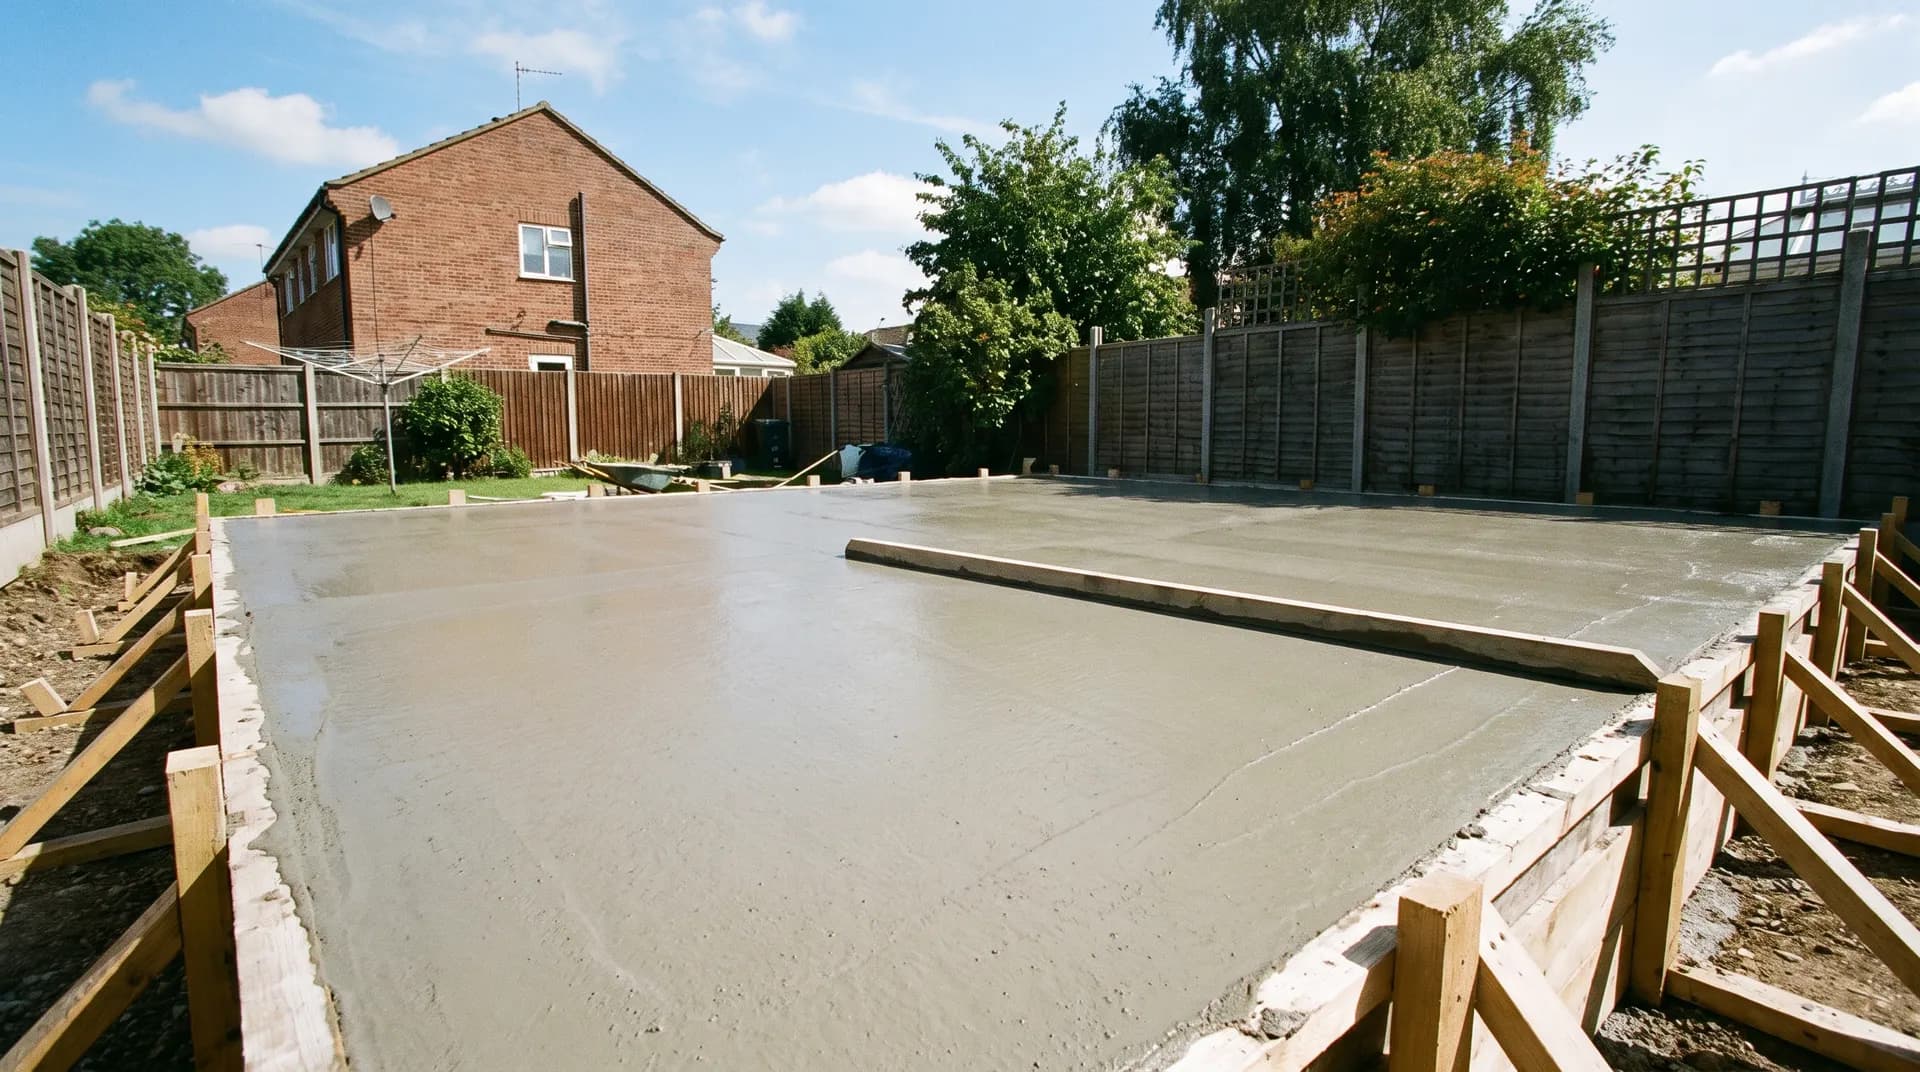
Lay a flat, level, durable concrete base for a shed, greenhouse or hot tub — set out the dig, build the formwork, pour and finish the concrete, then leave it to cure properly.
How to Lay a Patio
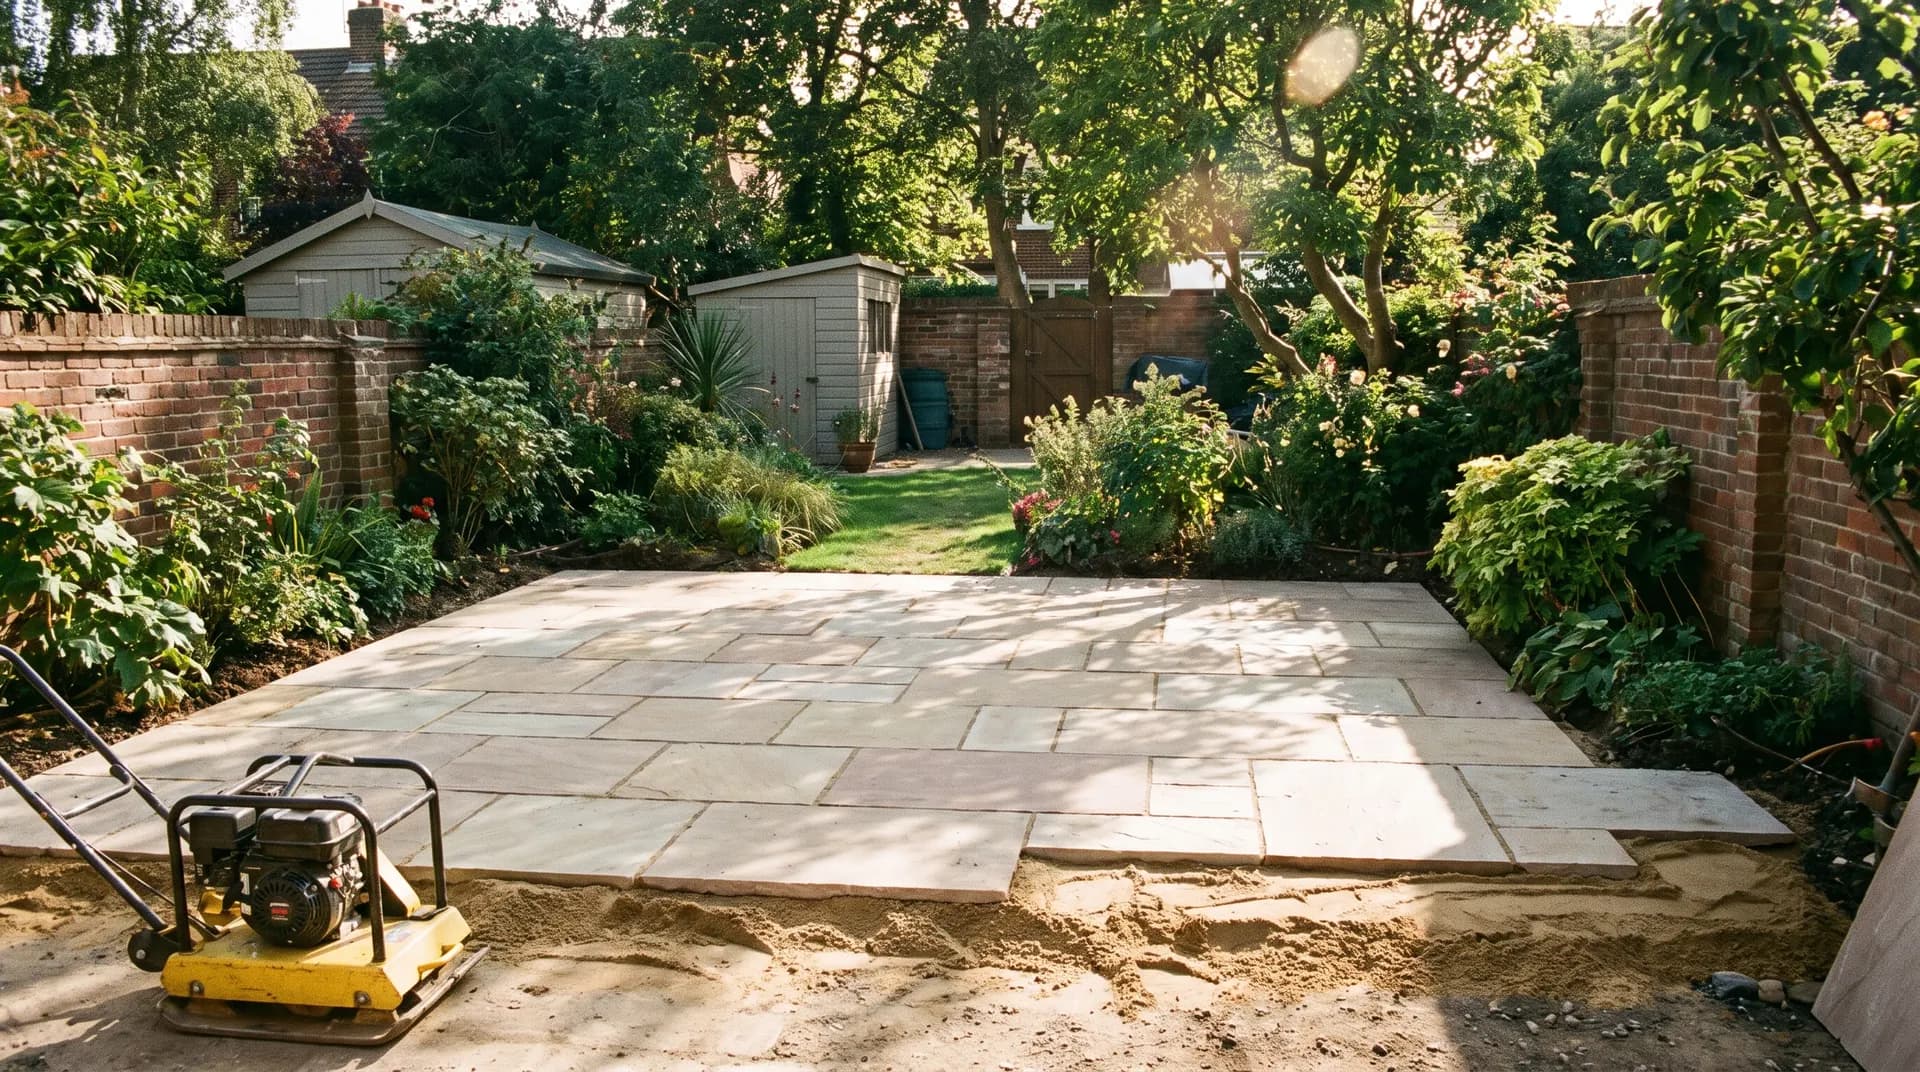
How to lay a patio that drains properly, stays level year after year, and looks crisp from every angle — from setting out the fall, through sub-base, bedding sand and pointing.
How to Build a Fence Panel
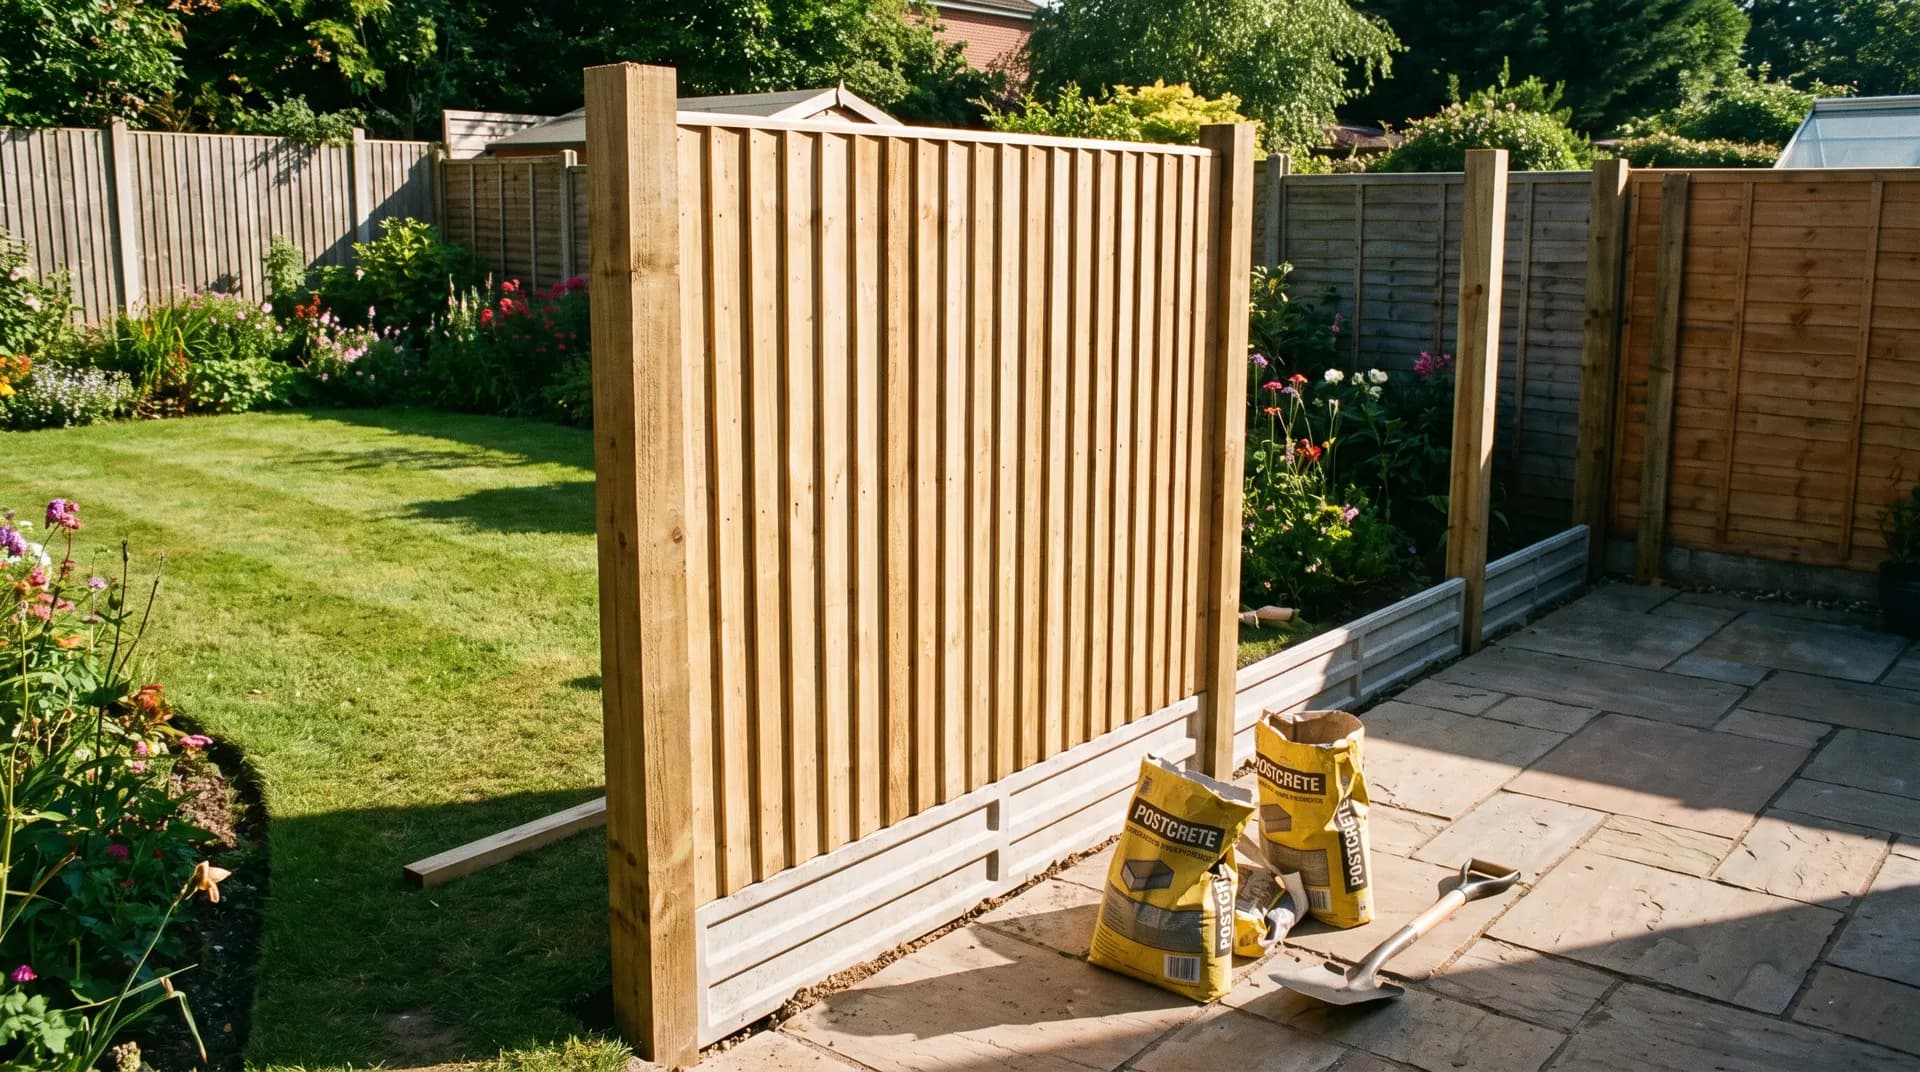
A practical guide to building a close-boarded timber fence panel that will outlast a dozen British winters — from setting out the line and digging post holes, to fixing the rails, featheredge boards and a gravel board.