
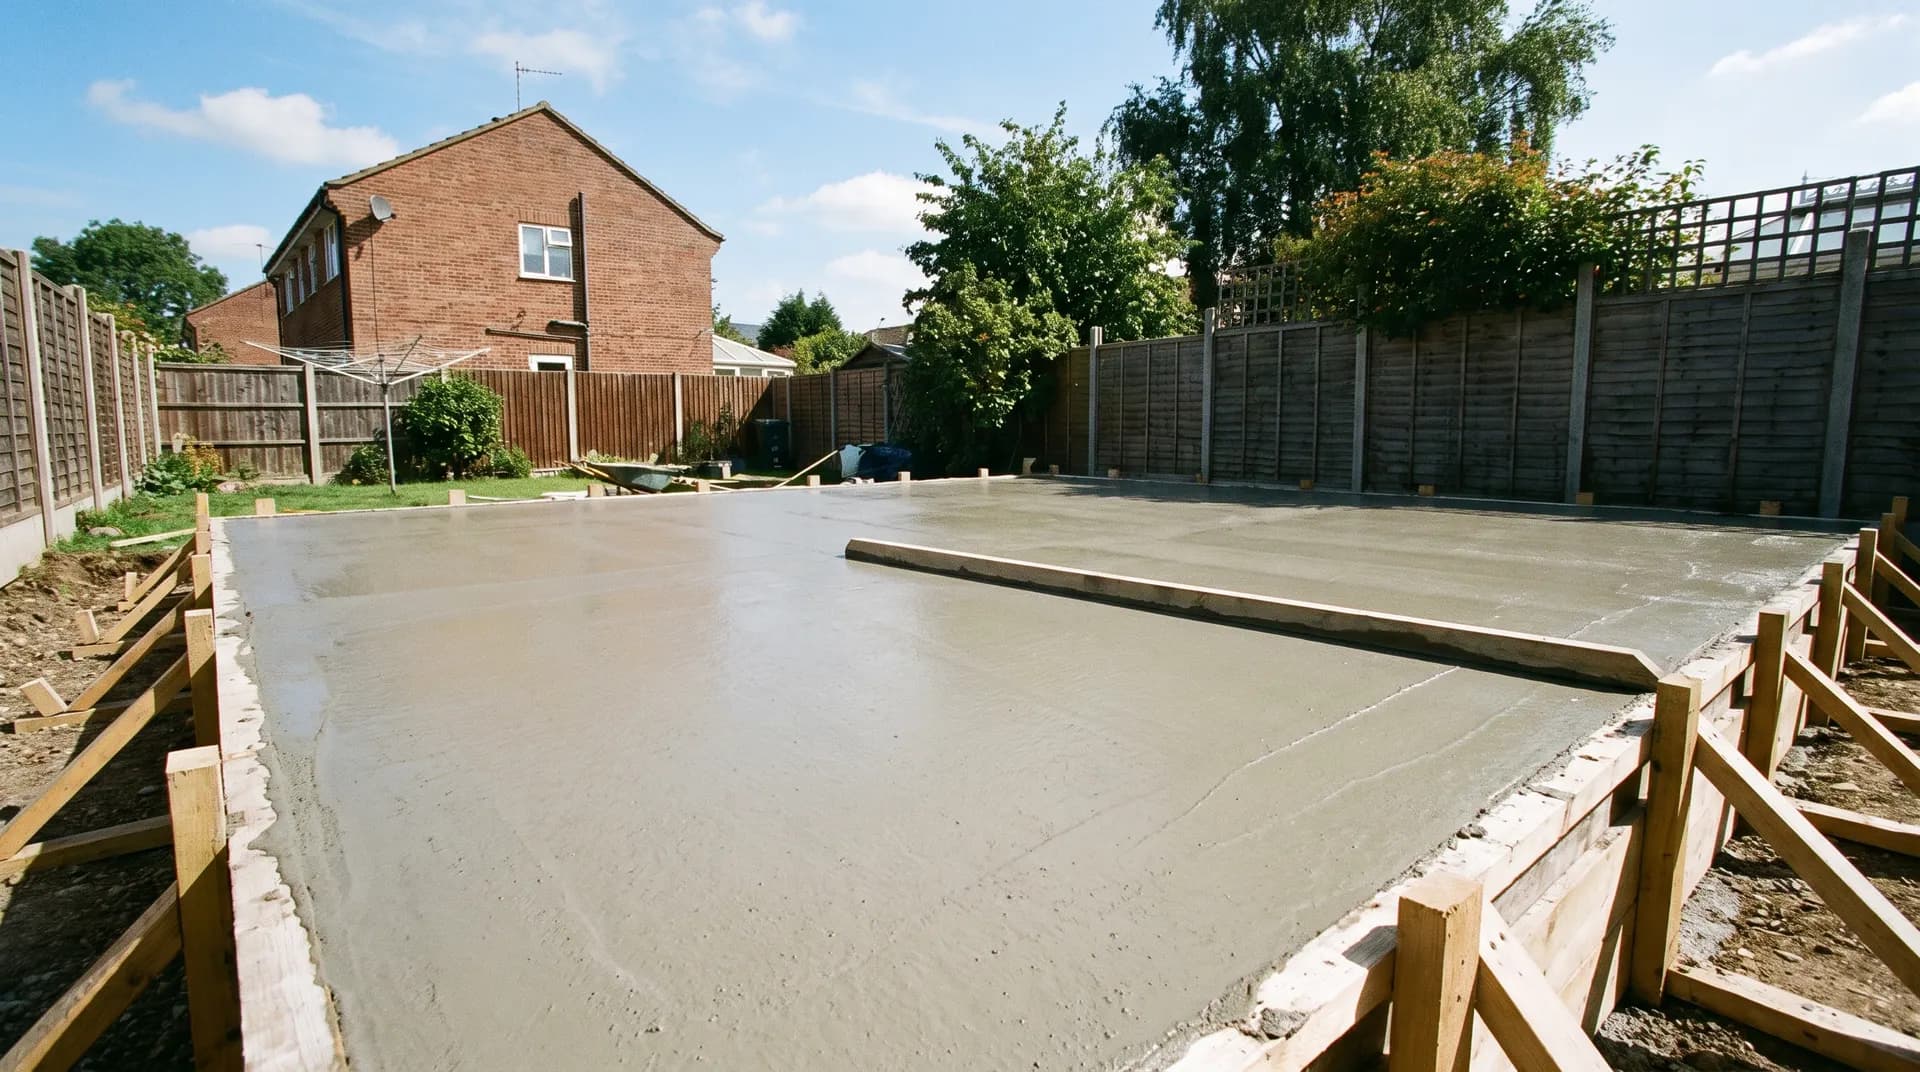
How to Lay a Concrete Base
Lay a flat, level, durable concrete base for a shed, greenhouse or hot tub — set out the dig, build the formwork, pour and finish the concrete, then leave it to cure properly.
- Category
- Concrete
- Difficulty
- Intermediate
- Time
- 1–2 days (plus curing)
- Read
- 4 min
Concrete · Star Hawk Builders Merchant
Lay a flat, level, durable concrete base for a shed, greenhouse or hot tub — set out the dig, build the formwork, pour and finish the concrete, then leave it to cure properly.
4 min read 1–2 days (plus curing) IntermediatePublished 7 July 2026
Plan and mark out the base
Sketch the base on paper with the finished overall dimensions and the thickness. A standard garden shed base is 100mm of concrete over 100mm of compacted sub-base — total 200mm of dig. Workstations and heavier structures want 150mm of concrete over 100–150mm of sub-base.
Mark the outline with string lines and pegs. Use the 3-4-5 method (or measure the diagonals and check they're equal) to make sure the base is square. Spray the line onto the grass with marker paint so you can see it as you dig.
Common DIY mistake: making the base the same size as the shed footprint. Add 50–100mm all round so the shed sits on the slab, not half on and half off.
Excavate and lay the sub-base
Dig out the topsoil to the depth of the slab + sub-base. For a 100mm slab on 100mm of sub-base, you're digging 200mm below the finished level. Don't cheat the depth — replacing topsoil later with thin layers of fill will settle and crack the slab.
Tip MOT Type 1 sub-base into the dig, spread it roughly level, then compact it in two 50mm layers with a plate compactor. A 50mm-thick uncompacted layer will compact down to roughly 35–40mm, so a couple of layers is needed to hit the full 100mm of compacted sub-base.
Lay a 1200-gauge polythene DPM over the compacted sub-base, taping the laps by 300mm and turning it up at the edges. The DPM stops ground moisture wicking up into the slab and into whatever you're building on top.
Build the formwork
The formwork holds the wet concrete in the right shape until it sets. Use straight, planed timber — typically 100mm × 25mm or 150mm × 25mm sawn timber, screwed (not nailed) to corner stakes. Check the top of the formwork with a long spirit level: this is the finished surface of your slab.
Tip: Brace the formwork from the outside with stakes every 600mm or so. Wet concrete is heavy — it will push an under-braced formwork out of true within minutes.
If the slab is bigger than about 3m × 3m, divide it into smaller pours with expansion joint strips (10mm cork or closed-cell foam). Long, unbroken slabs will crack in the same place every winter — expansion joints give them somewhere controlled to crack instead.
Mix and pour the concrete
A base slab is the right place to use a C20 mix — 1 part cement, 2 parts sharp sand, 4 parts 20mm aggregate, water to a stiff-but-workable consistency. For an average 3m × 3m shed base you need about 1m³ of concrete, which is the threshold where ordering ready-mix delivered usually wins over mixing by hand.
If you're pouring from a wheelbarrow or readymix chute, work in sections — start at the far end and work back towards where you'll exit. Don't let one section start to set before you place the next, or you'll get a cold joint.
Tip: lay A142 reinforcing mesh on bar chairs in the middle third of the slab once the concrete is partly placed. The mesh needs to be in the lower half of the slab, not sitting on the DPM, otherwise it'll just rust without adding any strength.
Compact and finish the surface
Use the blade of a shovel or a vibrating poker to compact the concrete as you tip it — that pushes the air bubbles out and brings the cement-rich paste to the surface. Without compaction the surface will be full of pinholes and weak.
Screed the concrete level with a timber straight-edge worked back and forth across the top of the formwork. Then float it smooth with a magnesium float in arcs, working the aggregate down and the paste up. For a non-slip finish, drag a soft brush lightly across the surface before it fully hardens ("brushed finish"). For a smooth finish suitable for a floor, leave it an hour and then steel-trowel.
Cure it properly
This is where most DIY bases fail. Concrete cures by hydration, so it needs moisture, not heat. Leave it too dry and the surface will be dusty and prone to fine cracks.
- Cover the slab with polythene sheeting for at least 3 days (7 is better).
- If the weather is hot or windy, mist it with water twice a day for the first week.
- Keep foot traffic off the slab for at least 24 hours, frame construction for 3 days, heavy loads for 7 days.
- The slab reaches its design strength at 28 days, so don't put a hot tub on it for at least a month.
Materials and tools checklist
Materials
- MOT Type 1 sub-base — about 150kg per m² at 100mm depth
- 1200-gauge polythene DPM
- Sawn timber for formwork
- A142 reinforcing mesh and bar chairs
- C20 concrete — ready-mix by the metre for pours over 1m³
- Expansion joint strips (for slabs over 3m)
- Curing polythene
Tools
- Spade and wheelbarrow
- Plate compactor (hire)
- Spirit level and string line
- Screed board
- Magnesium float and steel trowel
- Soft brush (for non-slip finish)
When to call a builder
A 3m × 3m shed base is a great DIY project for a long weekend; a 6m × 4m base for a workshop or a base for a hot tub is more involved. Get a builder in if:
- The base is structural (part of a building or taking vehicle weight)
- The volume is over 2m³ — hire a concrete pump instead of mixing by hand
- Site access is awkward or sloping
- The slab has integrated drainage, pipework or underfloor heating
We supply the full kit — sub-base, DPM, mesh, cement, sand, aggregate and bagged concrete — delivered next-day across the South East at trade prices.
Frequently asked questions
How thick should a concrete base be for a shed?
100mm is enough for a standard timber or metal garden shed on firm ground. Go to 150mm for a heavier structure like a workshop or for a base that will take vehicle or ride-on mower weight. Add a thicker base in areas with poor ground.
Do I need sub-base under a concrete slab?
Yes, for any outdoor slab. Compacted MOT Type 1 sub-base (100mm thick, compacted in two layers) prevents the slab from sinking and helps with drainage. Skip it and the slab will settle unevenly within a season or two.
Should I add reinforcement mesh to my concrete base?
Yes — A142 mesh (or polypropylene fibres) is cheap and stops the surface from cracking. Lay it on bar chairs in the middle third of the slab so it's covered by at least 50mm of concrete on each side.
How long before I can build on a fresh concrete base?
Light foot traffic the next day, frame construction after 3 days, heavy loads after 7 days, and full design strength after 28 days. The slower the cure, the stronger the concrete — keep it damp for the first week.
Do I need a damp-proof membrane under a shed base?
Yes. Lay a 1200-gauge polythene DPM over the compacted sub-base and tape the laps. This stops ground moisture wicking up into the timber floor of the shed and extends the life of the structure significantly.
Ready to start? Get a concrete materials list.
Send us your measurements or project plan and we'll come back with stock, a written quote and a delivery slot — usually within the hour during trade hours. from £25 per m² (materials only) for typical installs.
Related how-to guides
More step-by-step walkthroughs to help your project run smoothly.
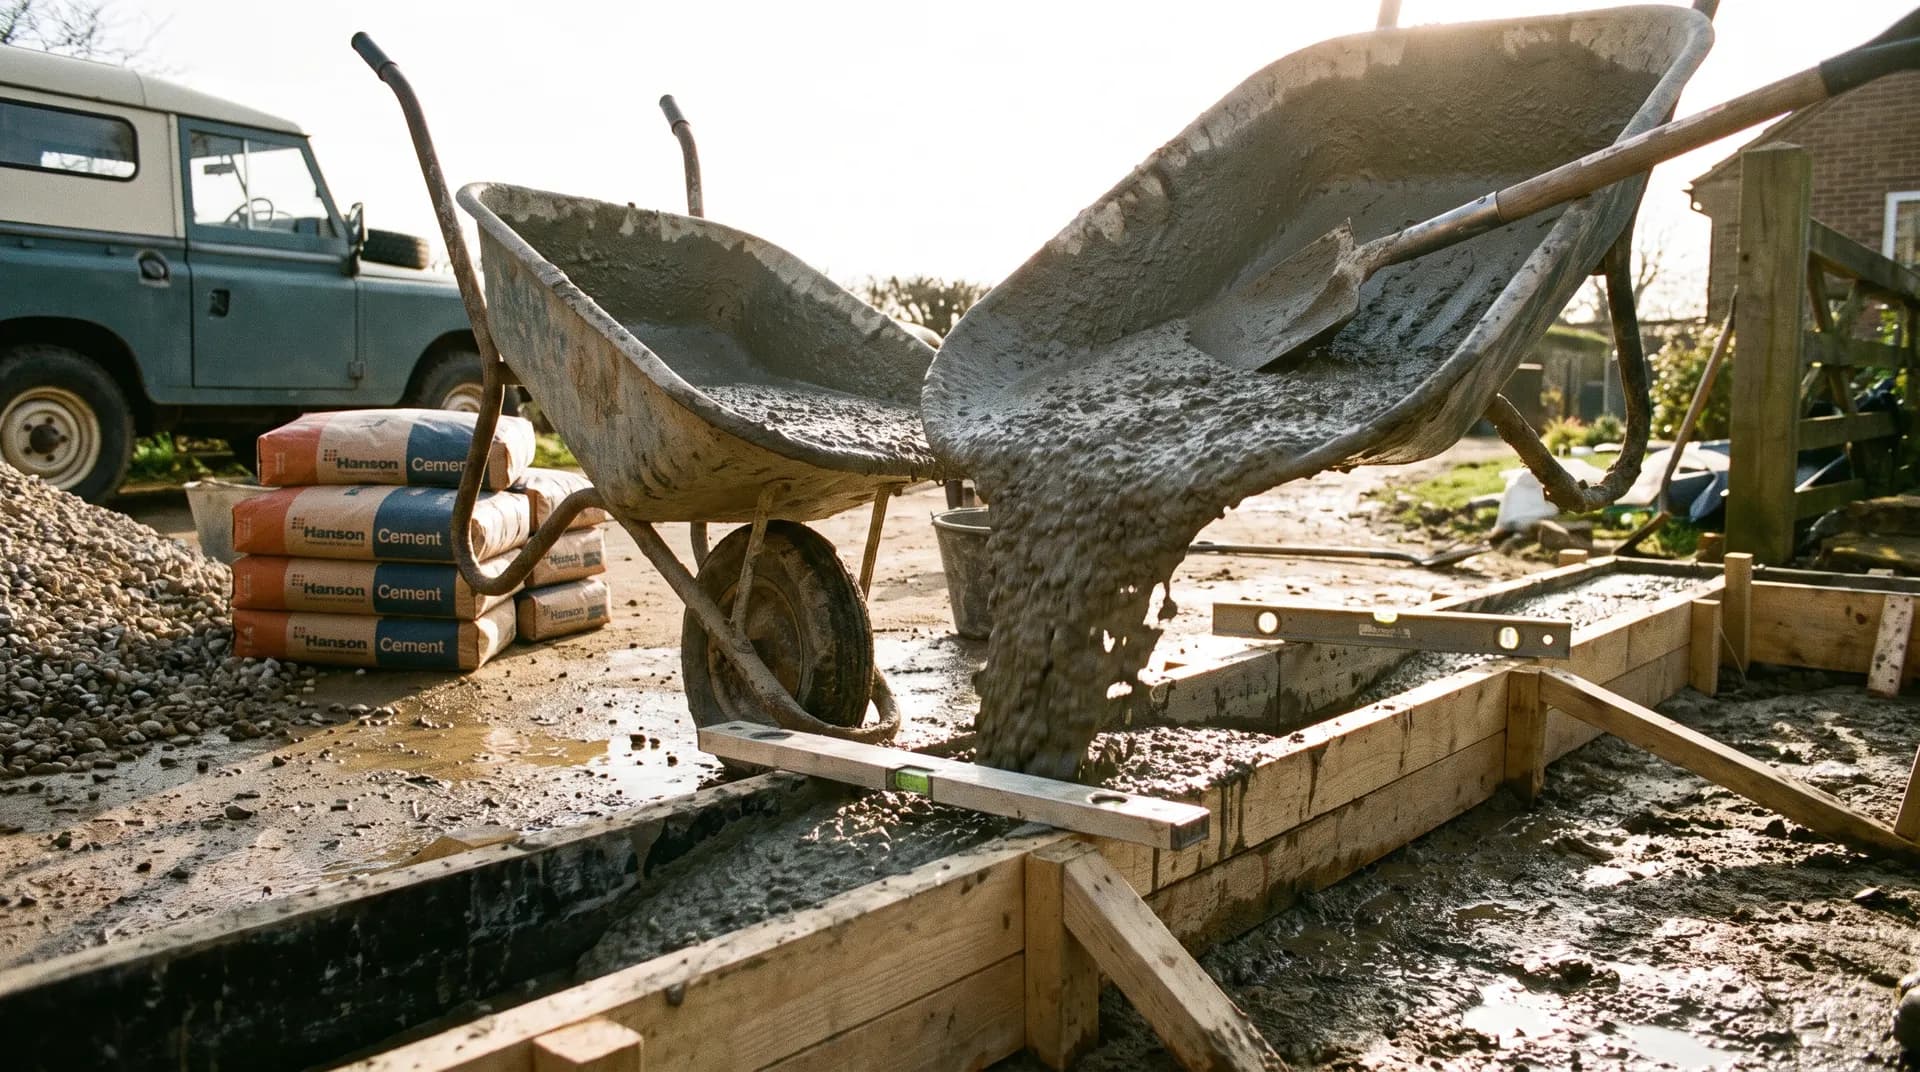
How to Mix Concrete
A practical guide to choosing the right concrete mix for the job, calculating how much you need, and mixing it properly by hand or in a small mixer — without weak, crumbly or cracking concrete.
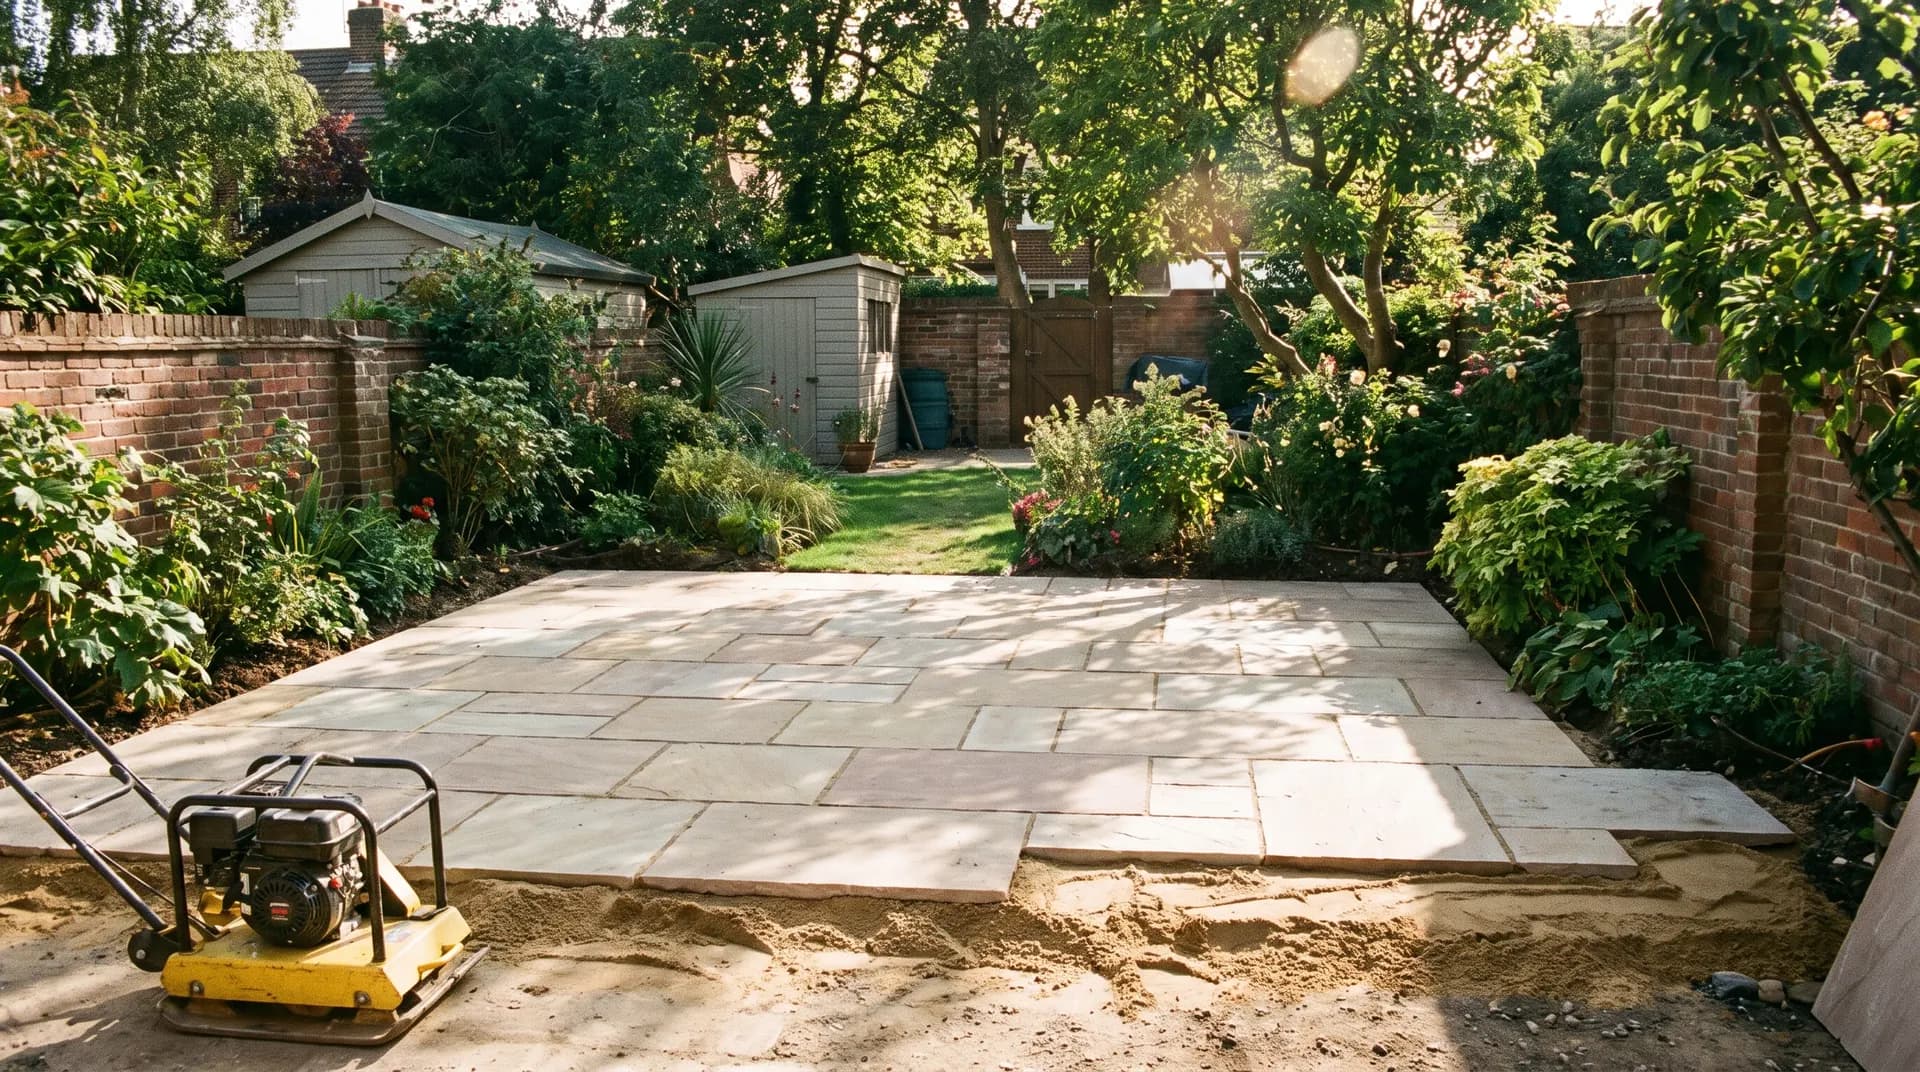
How to Lay a Patio
How to lay a patio that drains properly, stays level year after year, and looks crisp from every angle — from setting out the fall, through sub-base, bedding sand and pointing.
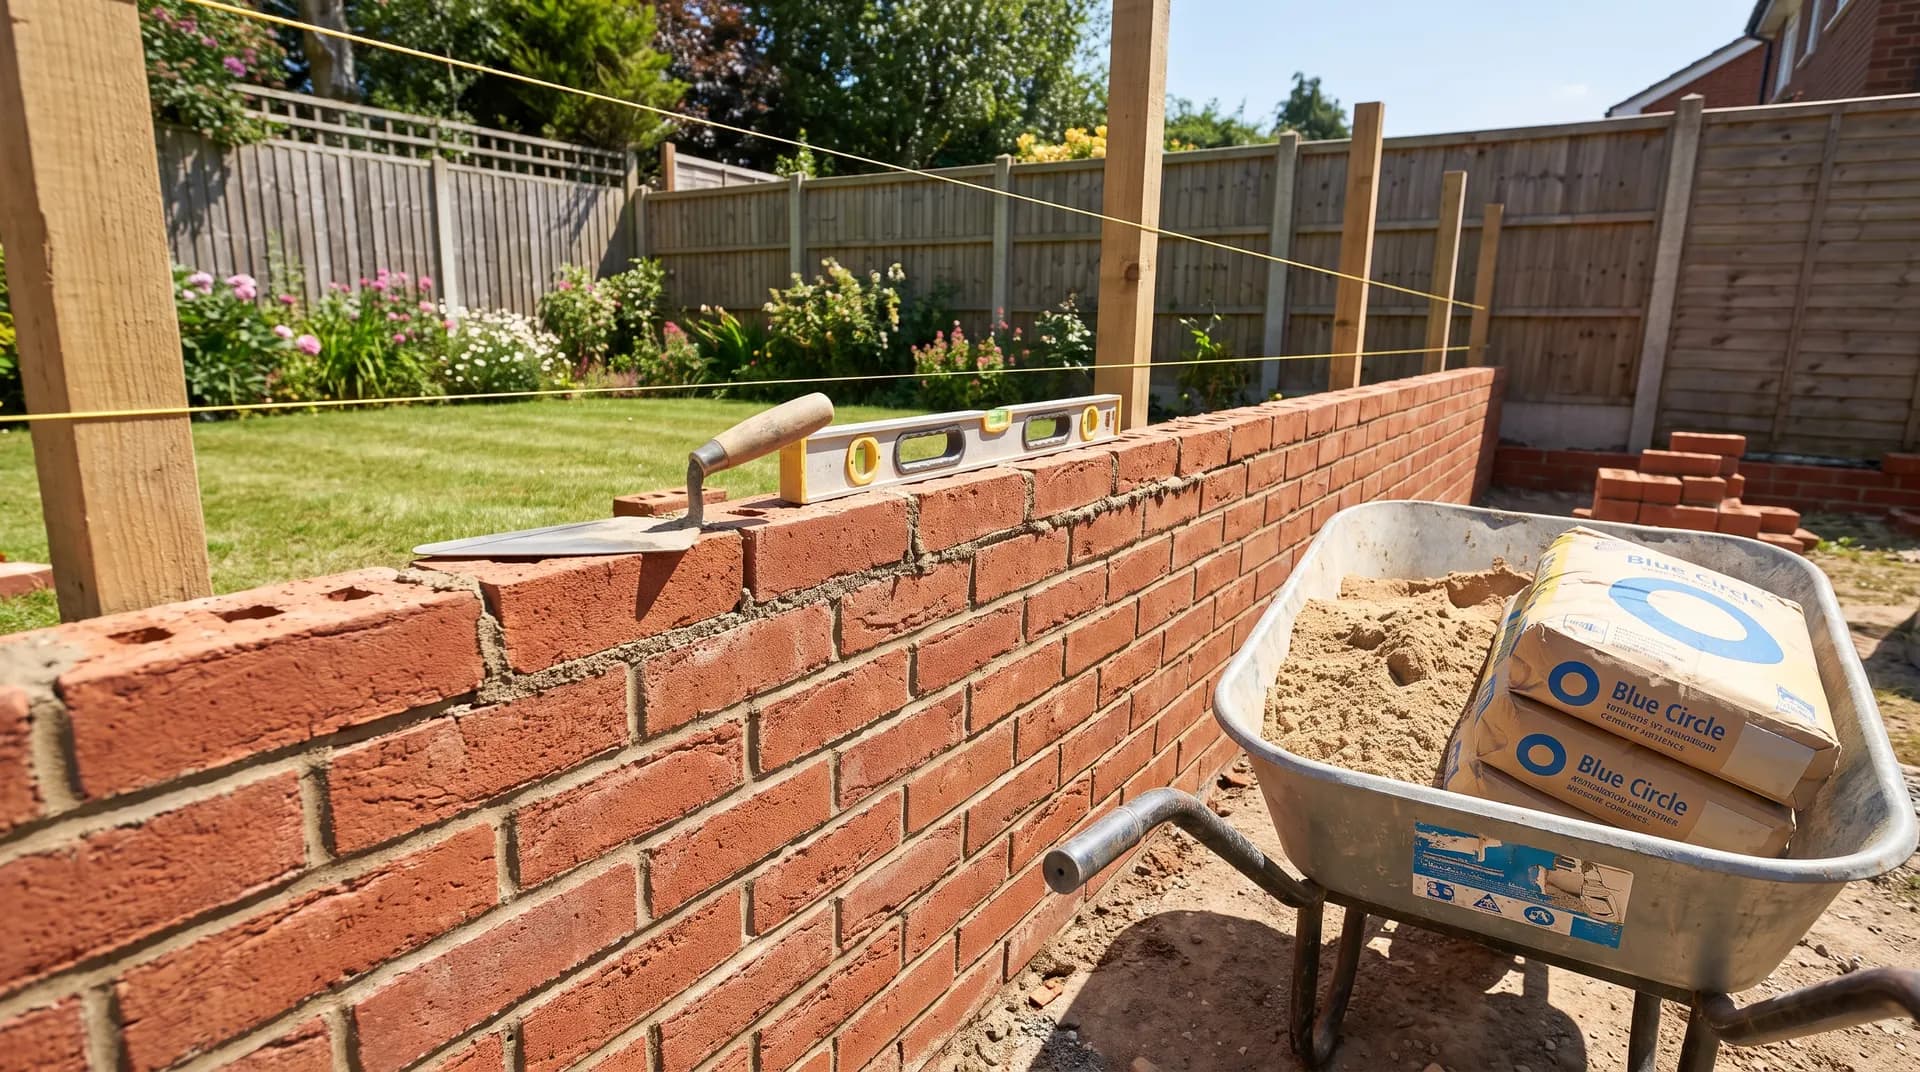
How to Lay a Brick Wall
A practical guide to laying a clean, weather-resistant single-skin brick wall — from setting out the line and pouring the foundation, through the mortar mix, stretcher bond and pointing the joints.