
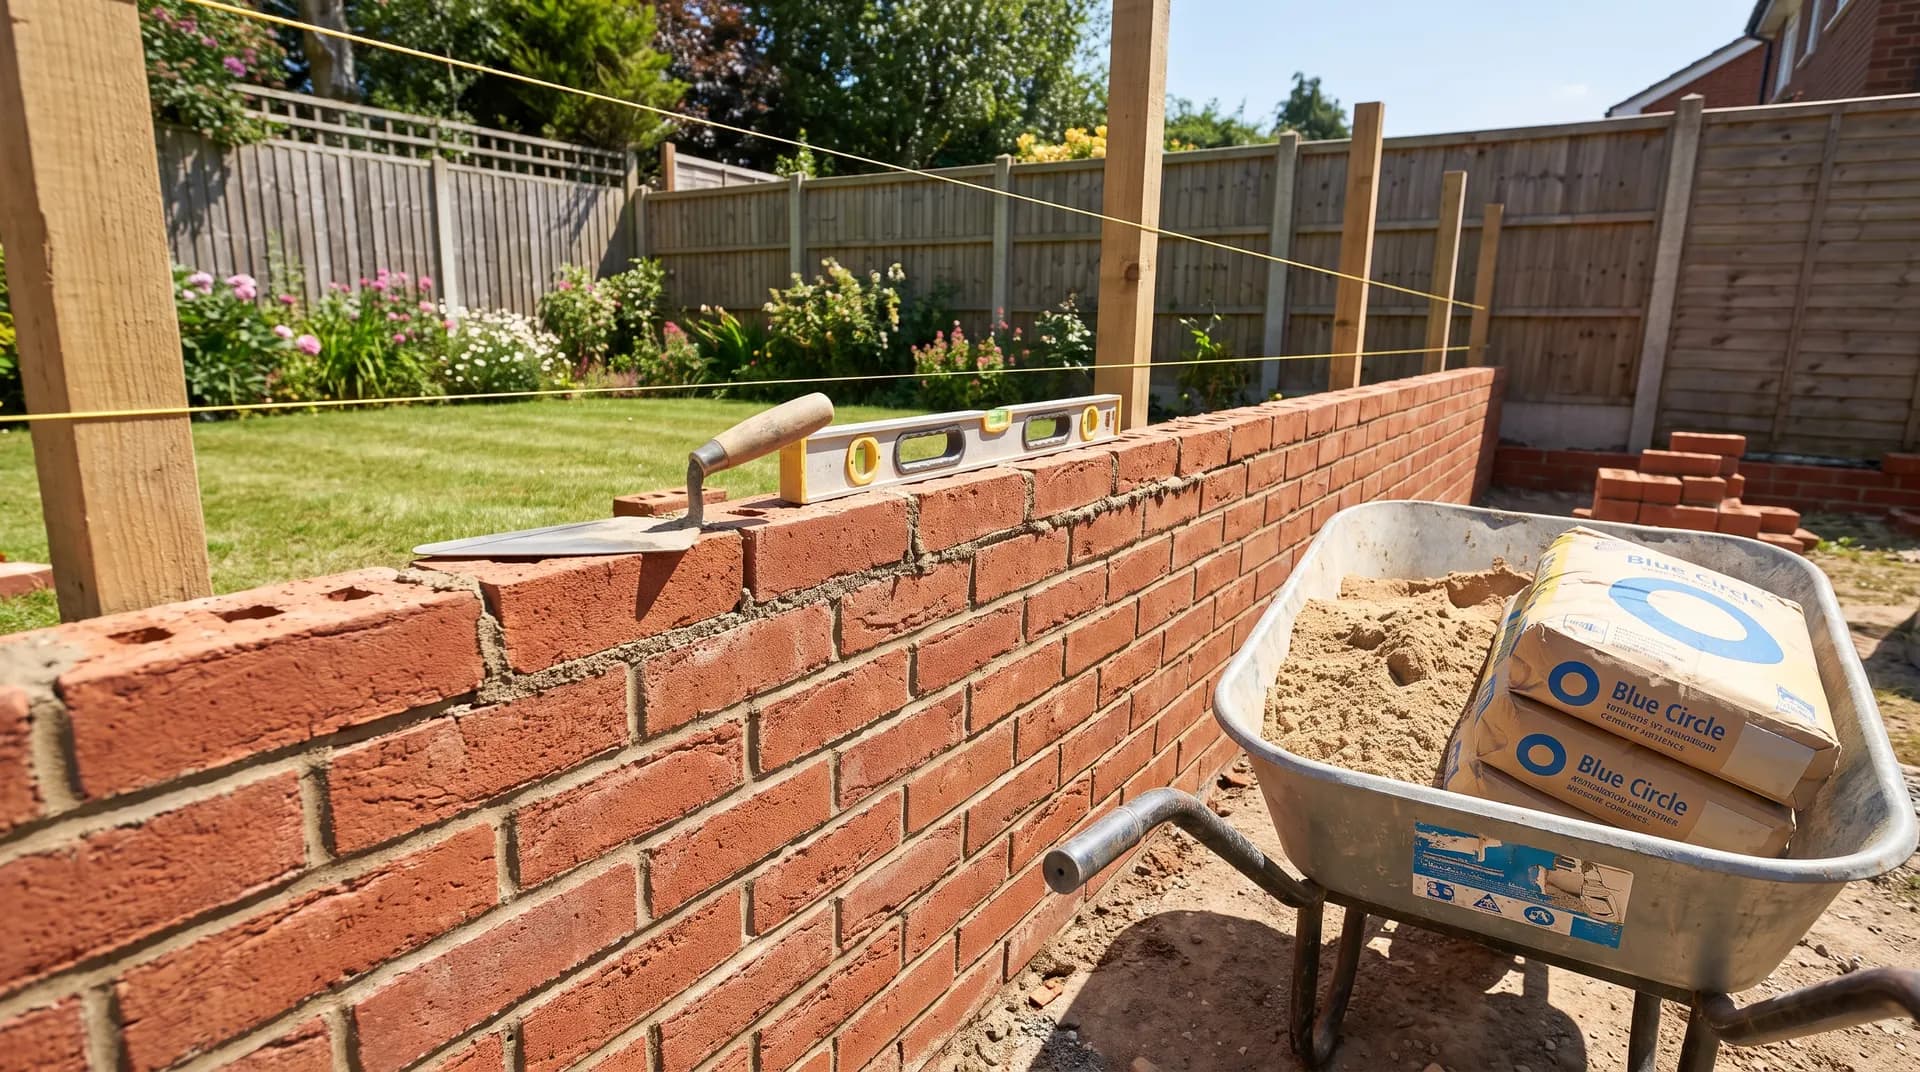
How to Lay a Brick Wall
A practical guide to laying a clean, weather-resistant single-skin brick wall — from setting out the line and pouring the foundation, through the mortar mix, stretcher bond and pointing the joints.
- Category
- Masonry
- Difficulty
- Beginner friendly
- Time
- 1–2 days for a 3m wall
- Read
- 5 min
Masonry · Star Hawk Builders Merchant
A practical guide to laying a clean, weather-resistant single-skin brick wall — from setting out the line and pouring the foundation, through the mortar mix, stretcher bond and pointing the joints.
5 min read 1–2 days for a 3m wall Beginner friendlyPublished 5 July 2026
Plan, count and set out
Before you order materials, sketch the wall to scale on a piece of paper — including any returns, pillars or opening for a gate. Count the bricks by working out the square metres of wall face and multiplying by 60 (the standard coverage for a UK metric brick at 10mm joints). Add 10% for cuts, breakages and the inevitable "I dropped one". Order cement, soft sand, DPC and at least 2 bags of post-mix if your foundations are deeper than 600mm.
Mark the wall line with string lines and pins, checking corners with the 3-4-5 method. Drive the corner pegs in at finished course height so the string line doubles as a level reference. Spray the foundation trench outline onto the grass with marker paint before you dig.
Tip: Lay out a dry course (no mortar) of bricks along the trench line first, with 10mm spacers between them. This stops you running out of bricks mid-foundation and gives you an instant gauge for any cuts at the ends.
Pour the foundation
The same rule applies to a brick wall as to a block wall: a strip foundation twice the wall width, 225–300mm deep for a non-load-bearing garden wall. Mix a 1:5 cement-to-all-in-ballast footing mix (or use post-mix / foundation concrete from a bag) and pour to ground level. Tamp level with a piece of timber, leave it proud by a course or two, and let it cure for at least 24 hours before you start laying — 48 if the weather is cold.
Bed a strip of DPC into the mortar joint of the first course, at least 150mm above finished ground level. The DPC should run continuously across the wall, with 100mm laps at corners and returns. Without a DPC the wall will wick moisture and stain within a season.
Mix the mortar
For brickwork above ground, use a 1:4 mix by volume — one part Portland cement to four parts soft sand. Add a plasticiser to make the mortar more workable (it spreads further, trowels easier, and gives a better bond). If you'd rather skip the measuring, bagged quality-assured mortar gives a consistent mix every time.
Mix only what you can use in an hour — mortar stiffens quickly in warm weather and starts to lose workability after about 90 minutes. The mix should hold its shape on the trowel without slumping. Too wet, and you'll get shrinkage cracks as it dries; too dry, and it won't bond to the bricks.
Common beginner mistake: adding too much water to "make it spread easier". It spreads, but it loses strength. Add water gradually until the mix just holds its shape when you squeeze a handful.
Lay the first course
The first course sets every other line, plumb and level on the wall. Bed the corner bricks first onto a full mortar bed about 10mm thick. Tap each one level across both axes with a rubber mallet. Run a string line taut between the corners to align the rest of the course, then lay each brick into a fresh mortar bed, leaving a 10mm perpend joint between each.
Check the whole first course with a long spirit level before you bed the second. If any one brick is proud, lift it and re-bed; if it's low, lift and shim it with more mortar. A flat first course pays for itself in the next twenty.
Build up in stretcher bond
From the second course up, every brick should be centred over the perpend joint in the course below — that's a stretcher bond, and it's the strongest pattern for a single-skin wall. Cut half-bricks at every other course end using a bolster and lump hammer, or hire a block splitter for longer runs. Aim to use the offcuts as half-bricks in the next course rather than wasting them.
A useful rule for an accurate wall: check level, line and plumb on every brick. Press mortar firmly onto the bed face and one perpend of each brick before laying — a full bed is much stronger than a stripped one and stops cold joints.
If you're building a cavity wall or anything structural, follow the engineer's spec for wall-tie spacing, bed-joint reinforcement and pier positions. The most common DIY mistake on a structural wall is ignoring the engineer's notes.
Point the joints
Once the mortar has thumb-dry (firms up under light thumb pressure but doesn't smudge), point the joints with a jointing iron or a piece of 12mm garden hose for a rounded, weather-resistant finish. Brush the wall down with a soft brush once the pointing has firmed but before the mortar is fully hard — that flicks off smear and brings the sand to the surface for a clean, textured finish.
Materials and tools checklist
Materials
- Facing bricks — order 10% over your count for cuts and breakages
- Soft sand — for the mortar
- Portland cement — or a quality-assured bagged mortar
- DPC strip — 100mm wider than the wall
- Plasticiser — improves workability
- Coping stones — to cap the top course
Tools
- Wheelbarrow and spade
- Brick trowel
- Rubber mallet
- Long spirit level (1.2m or longer)
- Builder's line and pins
- Bolster and lump hammer (or block splitter hire)
- Jointing iron
- Soft brush
When to call a bricklayer
A 1m × 3m single-skin garden wall is a fine DIY weekend for two people with some building experience. Get a quote from a local bricklayer if:
- The wall is over 1m tall or anywhere near a highway
- It's structural (part of a building, retaining or load-bearing)
- The wall has returns, openings or piers — corners slow beginners down
- You want it to match an existing wall or a particular bond pattern
Either way, we've got the bricks, sand, cement and DPC at trade prices and deliver next-day across Berkshire, Buckinghamshire, Surrey and the wider South East.
Frequently asked questions
How many bricks do I need per square metre?
A standard UK brick (215mm × 102.5mm × 65mm) with a 10mm mortar joint works out at roughly 60 bricks per square metre of single-skin wall. Always add 10% for cuts and breakages.
What is the correct mortar mix for brickwork?
Use a 1:4 mix — one part cement to four parts soft sand — by volume. Add a splash of plasticiser. For below-ground or parapet work, use a 1:3 mix or a quality-assured pre-bagged mortar.
Do I need a damp-proof course for a garden wall?
Yes — bed a DPC (damp-proof course) at least 150mm above ground level on the first course of every solid wall. Garden walls without a DPC will wick moisture up and show white salt staining within a season.
Can I lay bricks in wet weather?
Avoid it. Heavy rain washes the cement out of fresh mortar and weakens the joint. If the forecast is borderline, cover the top of the wall with a tarp overnight and don't lay more than you can finish and cover in a day.
What is a DPC and is it always required?
A DPC is a strip of impervious material (polyethylene or slate) bedded into the mortar joint to stop ground moisture rising up through the wall by capillary action. It's required in any solid wall in contact with the ground or a hard surface.
Ready to start? Get a masonry materials list.
Send us your measurements or project plan and we'll come back with stock, a written quote and a delivery slot — usually within the hour during trade hours. from £55 per m² (materials only) for typical installs.
Related how-to guides
More step-by-step walkthroughs to help your project run smoothly.
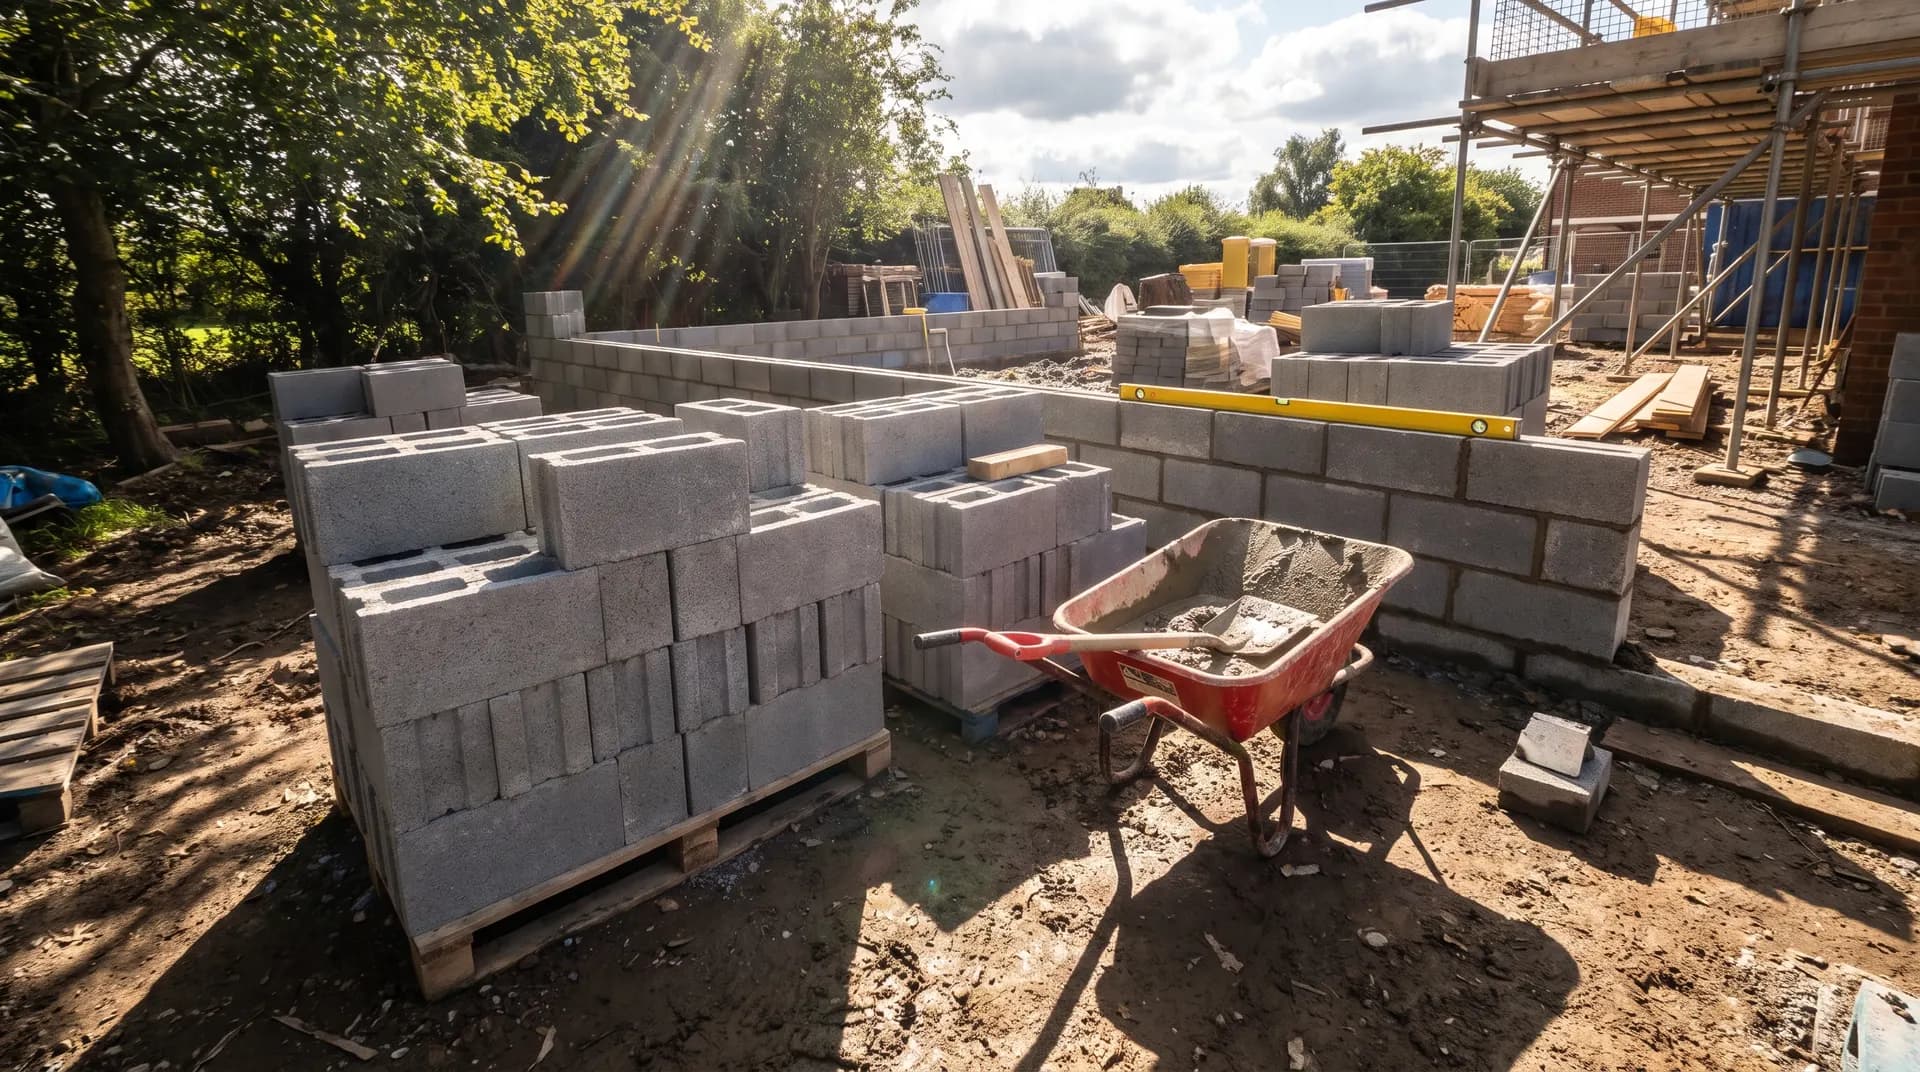
How to Build a Block Wall
How to build a clean, level block wall that will stand the test of time — from setting out, through the foundation, mortar mix and laying every course to a crisp brushed finish.
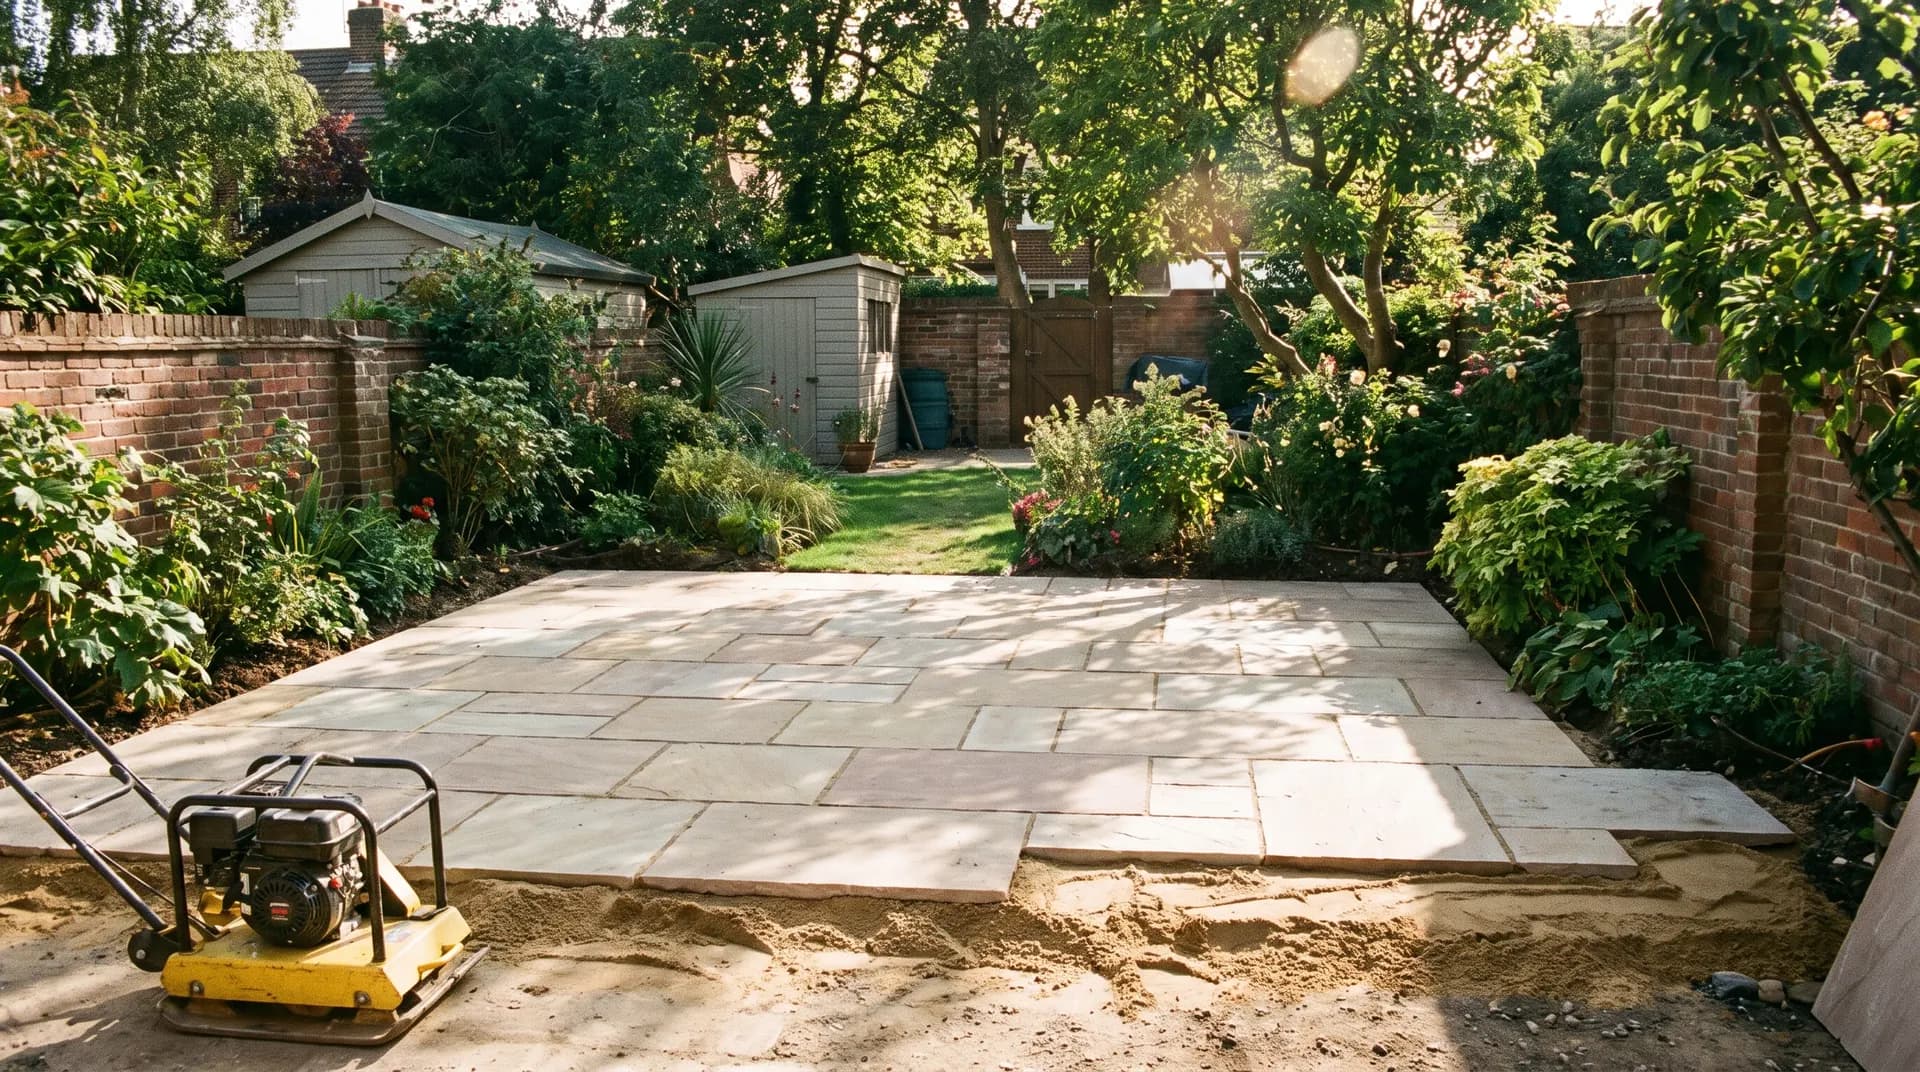
How to Lay a Patio
How to lay a patio that drains properly, stays level year after year, and looks crisp from every angle — from setting out the fall, through sub-base, bedding sand and pointing.