
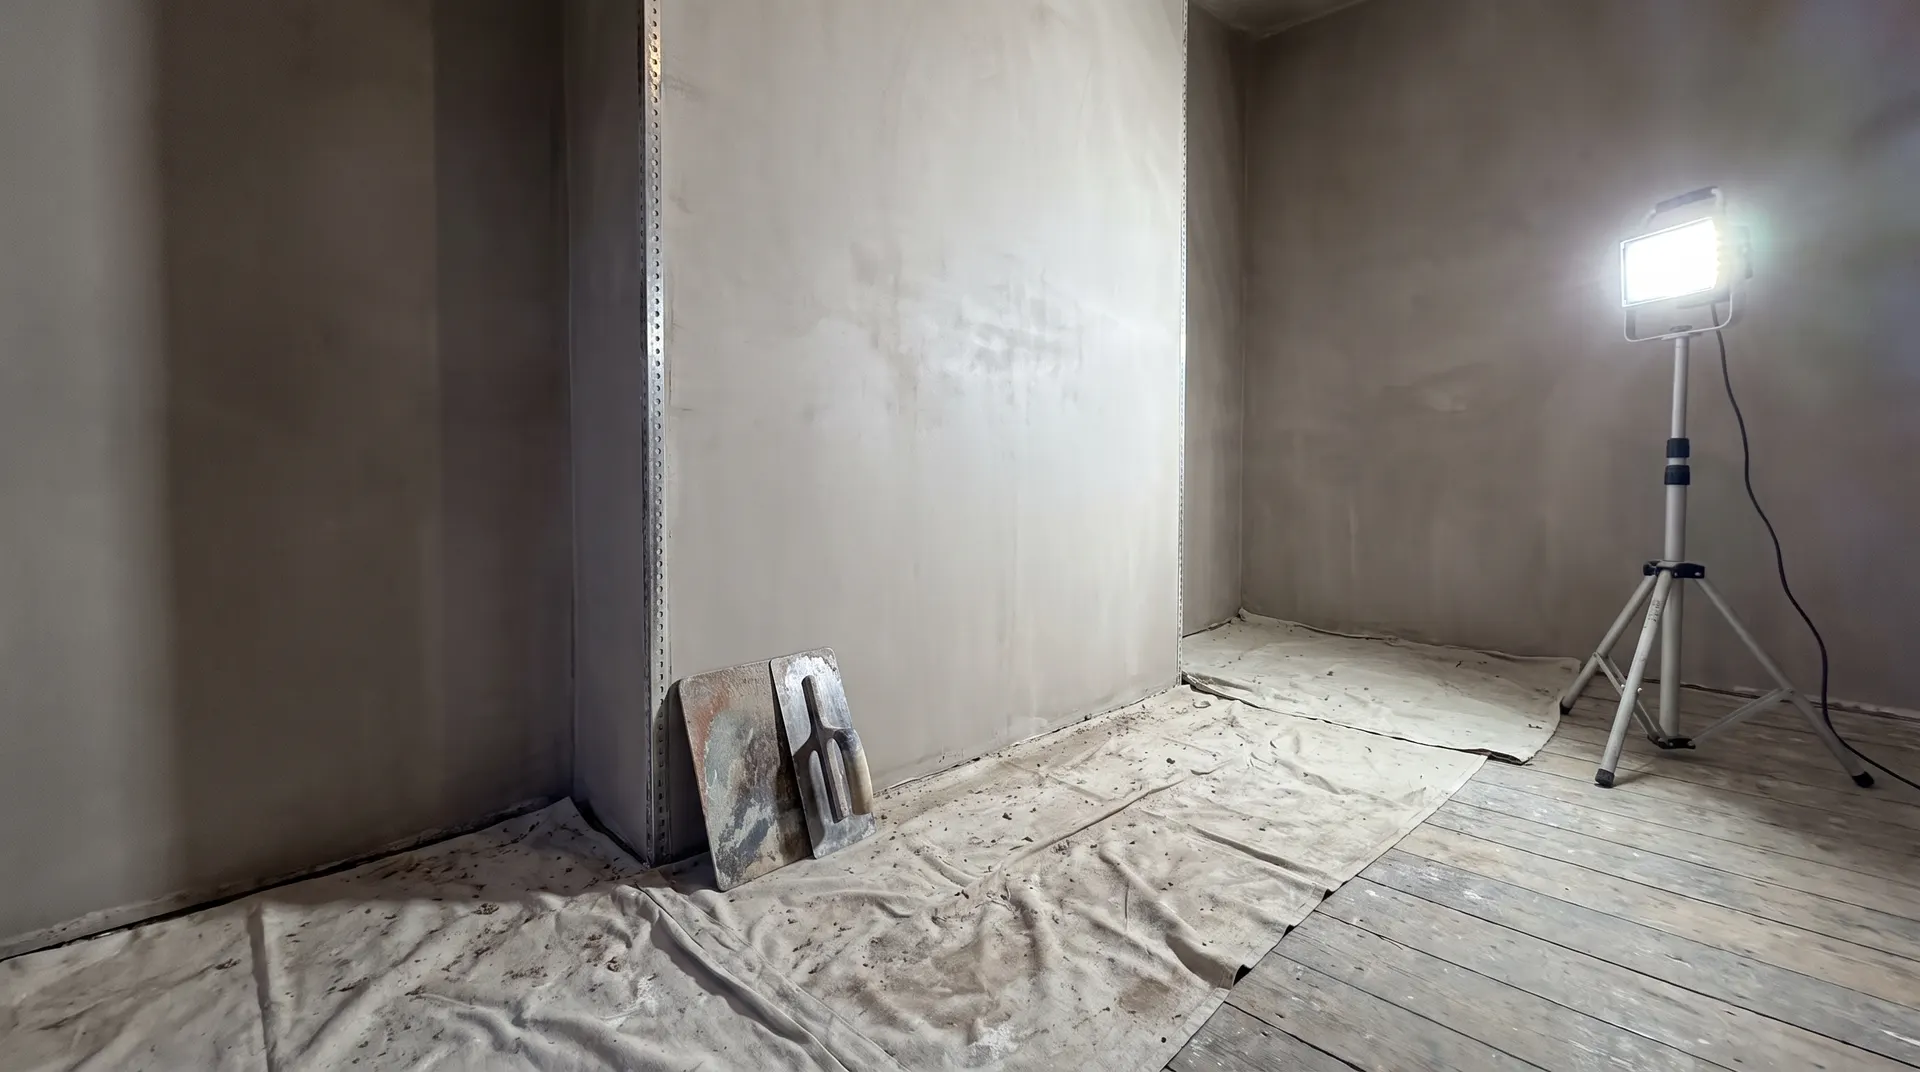
How to Plaster a Wall
A step-by-step guide to skimming a wall with finishing plaster, from wall prep and PVA through mixing, the scratch coat, the float coat and the final trowel.
- Category
- Plastering
- Difficulty
- Advanced - consider hiring
- Time
- 2 days for one wall
- Read
- 5 min
Plastering · Star Hawk Builders Merchant
A step-by-step guide to skimming a wall with finishing plaster, from wall prep and PVA through mixing, the scratch coat, the float coat and the final trowel.
5 min read 2 days for one wall Advanced - consider hiringPublished 10 July 2026
Decide what you're plastering
Plastering is the final 2–3mm skim coat that gives a wall a glass-smooth surface for paint. There are three common cases:
- Plasterboard walls (dry-lined or stud partition): ready to skim straight away with finishing plaster. Tape the joints with scrim tape first.
- Bare masonry (brick or block) walls: usually needs a bonding plaster base coat to level out the wall, then a finishing plaster skim once dry. Beginners should leave full browning coats to a plasterer and skim a flat board instead.
- Old painted walls: the paint must be sound, washed, keyed and primed with diluted PVA before skimming.
Realistic expectation: a perfect plaster skim is the hardest finish in DIY. It takes practice. If you have a large, visible wall to do — behind a feature fireplace, in a hallway — practice on a less visible wall first (a cupboard, behind a sofa) before committing.
Prep the wall
The number-one cause of plaster failure is bad prep. Take the time on this and the rest of the job will run smoothly.
- Strip back any loose paint, paper, distemper, or old plaster. Anything that's flapping needs to come off — plaster doesn't fix loose substrates.
- Clean the surface with sugar soap and a sponge. Rinse with clean water and let it dry.
- Key shiny surfaces with a coarse sandpaper (60–80 grit) so the plaster has something to grip.
- PVA the wall. Mix PVA bonding agent 1:4 with water (more dilute for very porous substrates, less for sealed ones). Apply with a roller or brush and let it go tacky — usually 30–60 minutes depending on temperature. The PVA stops the wall sucking all the water out of the plaster and gives the skim its initial grab.
Tip: if the PVA dries completely (no longer tacky) before you plaster, apply a second coat. Plastering onto bone-dry PVA causes the plaster to dry too fast and crack.
Mix the plaster
Fill a clean bucket about a third full of cold water. Add the plaster to the water, not the other way around — sprinkle it in slowly with one hand while mixing with the other. Use a paddle mixer on a slow drill for a consistent mix. Aim for the consistency of thick double cream — pourable, but not runny. It should sit on the hawk without slumping off.
Clean the bucket, paddle and tools between every batch — old plaster in the mix sets the new batch within minutes.
Common mistake: mixing too much plaster at once. Plaster has a working life of about 30 minutes once mixed. Mix half a bag at a time and don't be tempted to top up the bucket with fresh plaster once it's started to set.
Apply the scratch coat
Load the hawk with a generous scoop of plaster, then pick up a trowel-full by sliding the trowel along the hawk under the plaster. Smear it onto the wall from the bottom up, holding the trowel at about 30° to the wall and pressing firmly.
Spread the first coat to roughly cover an area 1m × 1m to a thickness of about 2mm. Don't try to smooth it at this stage — the first coat is the scratch coat, and the texture gives the second coat something to grip. Once you've covered the area, scratch the surface lightly with the edge of the trowel or a devilling float, in any pattern you can read — keep it shallow.
Move on to the next section, overlapping the edge of the previous one by 50mm or so to avoid a hard joint line.
Apply the float coat
Once the whole wall is covered in scratch coat, wait 5–10 minutes for it to firm up but not dry. Then take a clean trowel and float the surface — flat, sweeping passes with the trowel edge, holding it almost flat to the wall. This knocks down the high points and pushes the paste into the low points, smoothing the overall surface.
Work the whole wall in overlapping sweeps, wetting the trowel (dipped in clean water and shaken off) when the plaster starts to drag. Don't over-work it — once it firms up further, stop.
Tip: run a long straight-edge or feather edge vertically and horizontally across the wall after the first float. Anything that stands proud needs another pass with the trowel; anything recessed needs a small dab of fresh plaster to fill.
Trowel up
When the wall has firmed up but is still damp to the touch (about 20–40 minutes after the float, depending on conditions), it's time to "trowel up". Splash a small amount of clean water onto the surface with a brush, then polish the wall with the clean trowel in firm, flat sweeps. The water lets the trowel slide; the polish tightens the surface and closes any fine holes.
You may need to trowel up two or three times as the plaster tightens. The final pass should leave the wall smooth, tight and almost matt — not shiny wet, not dull dry.
Cut the corners and edges
Use the edge of the trowel to cut a clean line where the skim meets the ceiling, the floor and any internal or external corners. The cleanest way is to run the trowel along an angle bead (for external corners) or to cut the line with the point of the trowel using the wall as a guide. Internal corners are best finished with a corner trowel if you have one.
Materials and tools checklist
Materials
- Finishing plaster — 25kg bag covers 10–12m² at 2mm
- PVA bonding agent
- Scrim tape (for plasterboard joints)
- Angle bead (for external corners)
Tools
- Plastering trowel
- Hawk
- Plasterer's bucket and paddle mixer
- Long straight-edge or feather edge
- Corner trowel
- Devilling float (for scratch coat)
- Sandpaper and a sanding block
- Sugar soap and a sponge
- Dust sheets
When to call a plasterer
A small cupboard wall is a great place to learn; a full lounge or hall wall in a house you're proud of is not. Get a plasterer in if:
- The wall is large and visible (whole rooms, ceilings, stairwells)
- The wall has many reveals, curves or feature ceilings
- You want a specific finish (venetian, lime plaster, polished)
- The substrate is in poor condition and needs extensive dubbing out
We stock plaster (finishing and bonding), PVA, scrim tape and beads at trade prices, with next-day delivery across the South East.
Frequently asked questions
Can I plaster over old paint?
Yes if the paint is well bonded to the wall. Wash it down with sugar soap, key it with a coarse sandpaper (60–80 grit), then prime with a diluted PVA bonding agent. Loose, flaking or distemper paint must all come off before plastering.
What is the difference between bonding and finishing plaster?
Bonding plaster is a browning-type coat used to level out uneven masonry — it goes on 5–10mm thick. Finishing plaster (skim) is the final 2–3mm coat that gives the smooth surface for paint. Most DIYers use finishing plaster on plasterboard that already has a flat surface.
How long does plaster take to dry?
Finishing plaster goes white when it's dry. In good conditions a 2mm skim is paintable in 2–4 hours. A 10mm browning coat takes 2–3 days. Don't force-dry it with heaters or you risk cracking — let it dry naturally.
Why is my plaster falling off the wall?
Most common causes: the wall wasn't properly prepared (still dusty or still wet), the PVA wasn't applied at the right dilution, the plaster was over-watered, or the second coat went on too soon and dragged the first off. Strip it back and start again — putting more plaster on a failing base makes it worse.
Do I need to seal new plaster before painting?
Yes — use a mist coat (50/50 water and emulsion) as the first coat to seal the plaster, then two full coats of emulsion. Without the mist coat the paint will sit on the surface, dry too quickly, and may peel.
Ready to start? Get a plastering materials list.
Send us your measurements or project plan and we'll come back with stock, a written quote and a delivery slot — usually within the hour during trade hours. from £10 per m² (materials only) for typical installs.
Related how-to guides
More step-by-step walkthroughs to help your project run smoothly.
How to Tile a Wall
A practical guide to tiling a bathroom or kitchen wall — work out the layout, fix the tiles with adhesive, cut around sockets and pipework, grout cleanly and seal the corners.
How to Build a Block Wall
How to build a clean, level block wall that will stand the test of time — from setting out, through the foundation, mortar mix and laying every course to a crisp brushed finish.