
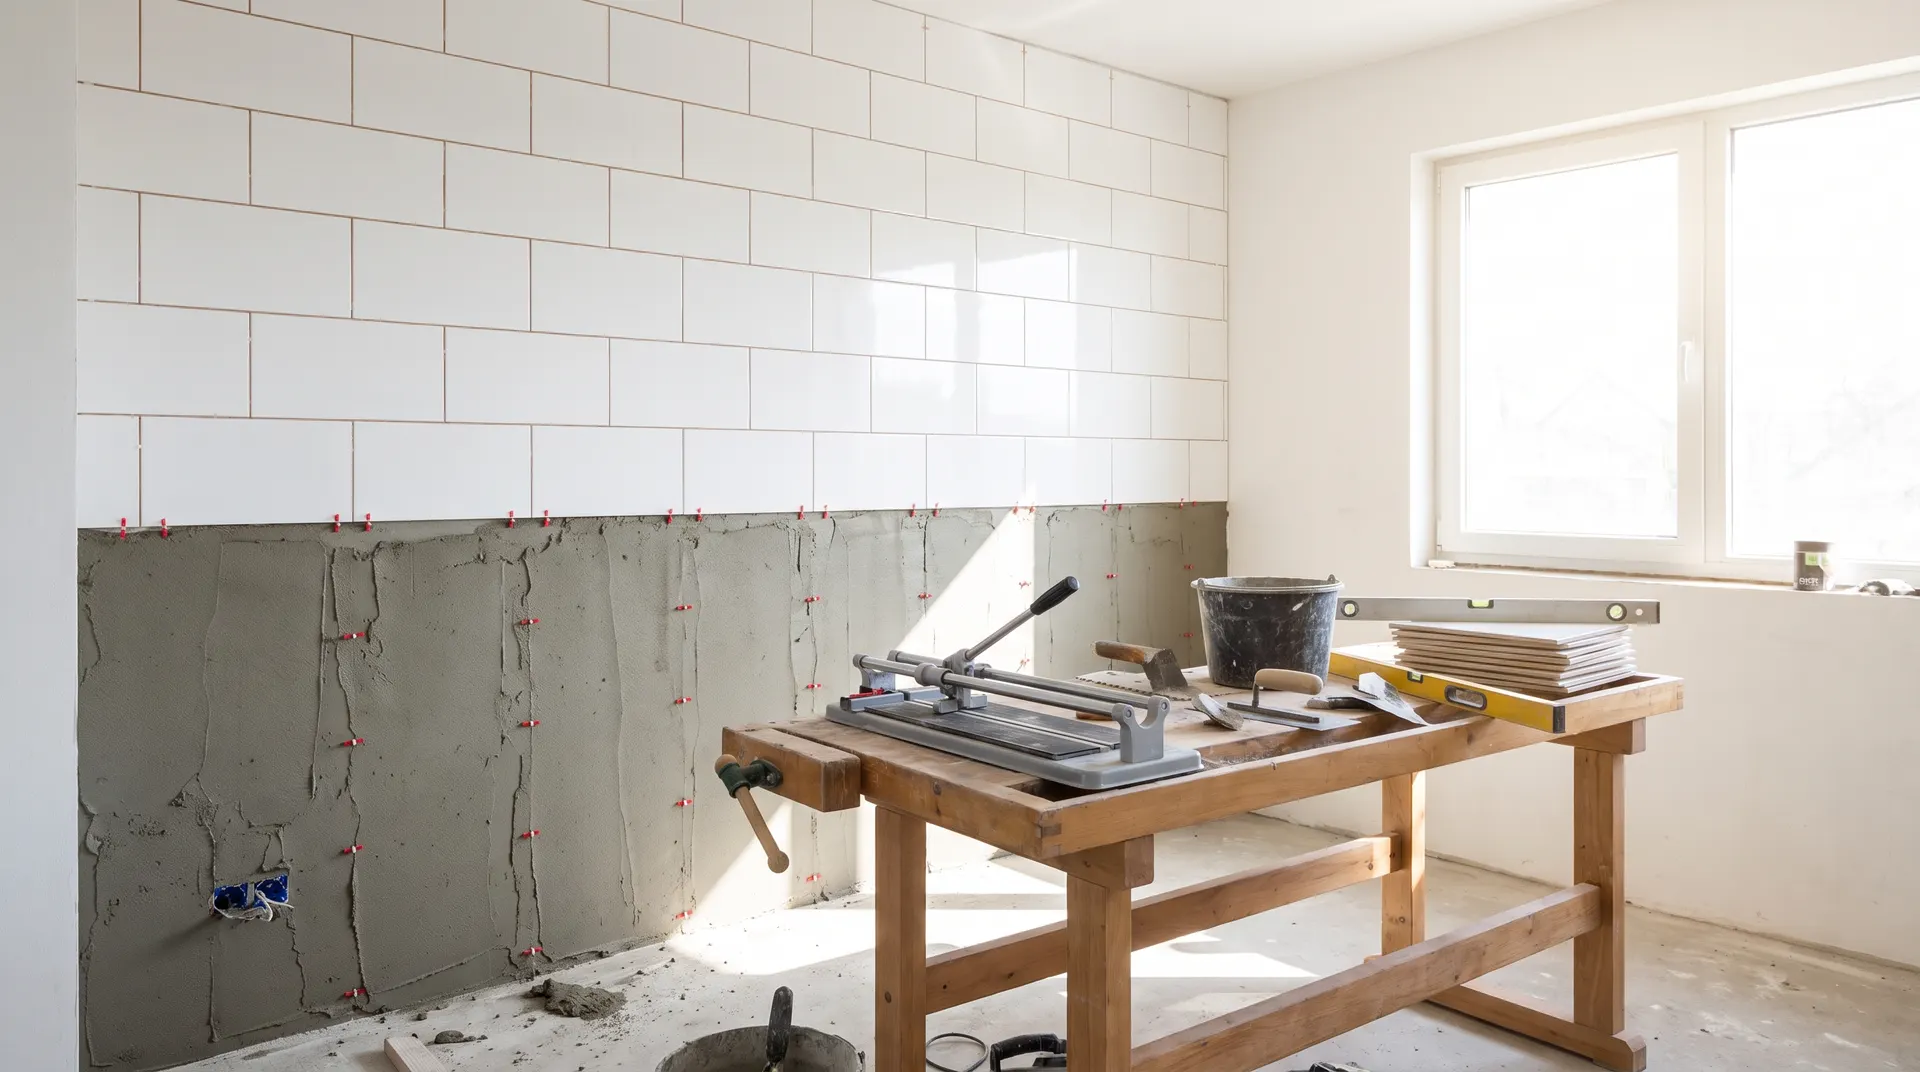
How to Tile a Wall
A practical guide to tiling a bathroom or kitchen wall — work out the layout, fix the tiles with adhesive, cut around sockets and pipework, grout cleanly and seal the corners.
- Category
- Tiling
- Difficulty
- Intermediate
- Time
- 1–2 days for a bathroom wall
- Read
- 5 min
Tiling · Star Hawk Builders Merchant
A practical guide to tiling a bathroom or kitchen wall — work out the layout, fix the tiles with adhesive, cut around sockets and pipework, grout cleanly and seal the corners.
5 min read 1–2 days for a bathroom wall IntermediatePublished 9 July 2026
Plan the layout and work out the cuts
Take the wall down on paper: the position of the bath, shower, basin, sockets, windows and any obstacle that affects tile placement. Always work from a centred layout — measure the wall width, divide by the tile width + joint, and adjust the starting line so you don't end up with a 20mm sliver of tile at one end.
Mark a vertical plumb line on the wall where the first column of whole tiles will land, and a horizontal datum line (set the height so you get whole tiles above and below a bath or basin where possible). Tiling normally starts about a course above the bath tub, so the bottom row sits just above the bath edge, behind the bath panel.
Common mistake: starting tiling from the floor up. Bath tubs aren't level, baths can move, and any difference ends up as a wedge-shaped cut tile. Set the datum level and start there.
Prep the wall
Tiles need a flat, clean, sound surface. Plasterboard can be tiled directly with a suitable adhesive. Bare plaster should be fully dry, primed with a diluted PVA or acrylic primer, and allowed to dry before tiling. Painted walls need to be sanded back to a key, with any flaking paint removed and the surface primed. Old tiles can be tiled over provided they're firmly fixed — wash them down with sugar soap, key them lightly with a belt sander, then prime before tiling.
Where the wall will get wet — inside the shower, around the bath — fit tank or tile backer board behind the tiles. Standard plasterboard doesn't like prolonged water contact and will swell and fail behind tiles within a few years.
Mix the adhesive
For most ceramic wall tiles in dry areas, a ready-mixed acrylic adhesive is fine — it comes in a tub and is applied straight from the container.
For porcelain tiles (which absorb almost no water), large-format tiles, or anywhere that'll see water, use a powdered C2-grade cement-based adhesive. Mix it in a clean bucket with cold water using a paddle mixer on a slow drill — about 4 parts powder to 1 part water. Mix to the consistency of thick peanut butter, let it stand for 2 minutes, then mix again.
Tip: only mix as much adhesive as you can use in about 30 minutes — it skins over and loses grab after that, especially in warm rooms.
Fix the tiles
Starting at your datum line, spread adhesive on the wall with a notched trowel (10mm notches for standard tiles, 12mm for large-format). Hold the trowel at 45° and comb the adhesive into straight, even ribs — don't swirl. That gives you a uniform bed thickness and consistent grab.
Press the first tile firmly into place with a slight twist, lining up with both the vertical plumb line and the horizontal datum. Place the second tile using spacers between the tiles and your eye on the joint — 2mm spacers for tight joints, 3mm for the standard ceramic look, 5mm for hand-made or rustic tiles.
Tip: run a spirit level across the top of each course. The wall may not be flat — a 1mm deviation now becomes a 6mm deviation in six courses if you don't check.
Work outwards from the datum in both directions, completing one course at a time. Wipe any adhesive off the tile face with a damp sponge before it sets — dried-on adhesive is the difference between a clean job and a day spent chipping residue off.
Cut tiles around fittings
Mark each cut on the tile face using a felt-tip pen or chinagraph pencil. Straight cuts: score and snap with a manual tile cutter. Thin slivers: use a pair of tile nibblers to nibble away the waste in small bites — they crack if you try to take too much. Curves around pipes: use a diamond-tipped hole saw the same diameter as the pipe, drilled half from the front and half from the back to avoid breakout. L-shapes around sockets: mark carefully and use a wet saw, or make a series of parallel nibble cuts across the waste and snap.
Test-fit every cut before spreading adhesive, since a wrong cut can ruin a tile.
Grout
Leave the adhesive for at least 24 hours before grouting. Mix the grout to the consistency of smooth peanut butter, following the maker's water ratios. Unsanded grout for joints under 3mm, sanded grout for joints over 3mm.
Spread grout diagonally across the tiles with a rubber squeegee, forcing it into every joint. Let it haze on the face of the tiles for 10–15 minutes, then wipe the excess off with a damp (not wet) sponge in diagonal strokes. Repeat with a clean sponge until the joints are smooth and the tile faces are clean.
Once the grout has firmed (about 30 minutes), polish the tile faces with a dry microfibre cloth to bring up the finish.
After the grout has cured for 24 hours, seal the corners and around the bath or shower tray with silicone sealant. Mask both edges with tape, run a 5–6mm bead, smooth it with a wet finger, peel the tape immediately. Don't leave silicone for the last minute of a Saturday afternoon — it can be messy the first time.
Materials and tools checklist
Materials
- Wall tiles — 10% extra for cuts and breakages
- Tile adhesive (ready-mixed or powdered C2)
- Grout (unsanded for <3mm, sanded for >3mm)
- Tile spacers
- Silicone sealant (anti-mould for bathrooms)
- Acrylic primer
Tools
- Notched trowel
- Tile cutter (manual or electric wet saw)
- Tile nibblers
- Diamond hole saw (for pipework)
- Rubber grout float
- Sponges and a bucket
- Microfibre cloth
- Spirit level
- Tape (for silicone mask)
When to call a tiler
A single bathroom wall is a confident-DIY project for a first-time tiler; an entire bathroom floor-to-ceiling in large-format porcelain is more involved. Get a tiler in if:
- The walls are very uneven and need a lot of dubbing out
- You're tiling a full wet-room (anywhere that gets wet)
- The tiles are large-format (over 600mm on a side)
- The substrate is timber-frame and needs careful detailing to prevent movement
- You're after a complex pattern (herringbone, mosaic, book-matched)
We stock ceramic and porcelain tiles, adhesive, grout, spacers and silicone at trade prices, with next-day delivery across the South East.
Frequently asked questions
Do I need to plaster a wall before tiling it?
Only if the wall is uneven. A flat plastered wall needs no further work. Plasterboard can be tiled directly. Bare masonry walls benefit from a coat of plaster first if they're not flat. Older painted walls should be sanded and primed first.
What adhesive should I use for ceramic wall tiles?
Use a ready-mixed acrylic adhesive for small ceramic tiles in dry areas. Use a powdered cement-based adhesive (typically labelled 'C1' or 'C2') for porcelain, large-format tiles, and any tile that will get wet — bathroom walls, shower enclosures, kitchen splashbacks behind a hob.
How do I cut tiles around pipes and sockets?
Mark the cut-out carefully, then use a tile cutter for straight cuts, an electric wet saw for shaped cuts, or a pair of tile nibblers for small arcs. For circular cuts around pipework, use a diamond-tipped hole saw the same diameter as the pipe.
When can I grout after fixing wall tiles?
Wait at least 24 hours after the last tile was fixed. Grouting too early can disturb the adhesive and squeeze tiles out of alignment. Make sure the tiles are firmly set before you start grouting.
What is the difference between sanded and unsanded grout?
Unsanded grout is for joints under about 3mm wide. Sanded grout for joints over 3mm. Epoxy grout is waterproof and stain-resistant, more expensive, and used in commercial kitchens and high-end bathrooms.
Ready to start? Get a tiling materials list.
Send us your measurements or project plan and we'll come back with stock, a written quote and a delivery slot — usually within the hour during trade hours. from £35 per m² (materials only, excluding tiles) for typical installs.
Related how-to guides
More step-by-step walkthroughs to help your project run smoothly.
How to Plaster a Wall
A step-by-step guide to skimming a wall with finishing plaster, from wall prep and PVA through mixing, the scratch coat, the float coat and the final trowel.
How to Build a Block Wall
How to build a clean, level block wall that will stand the test of time — from setting out, through the foundation, mortar mix and laying every course to a crisp brushed finish.