
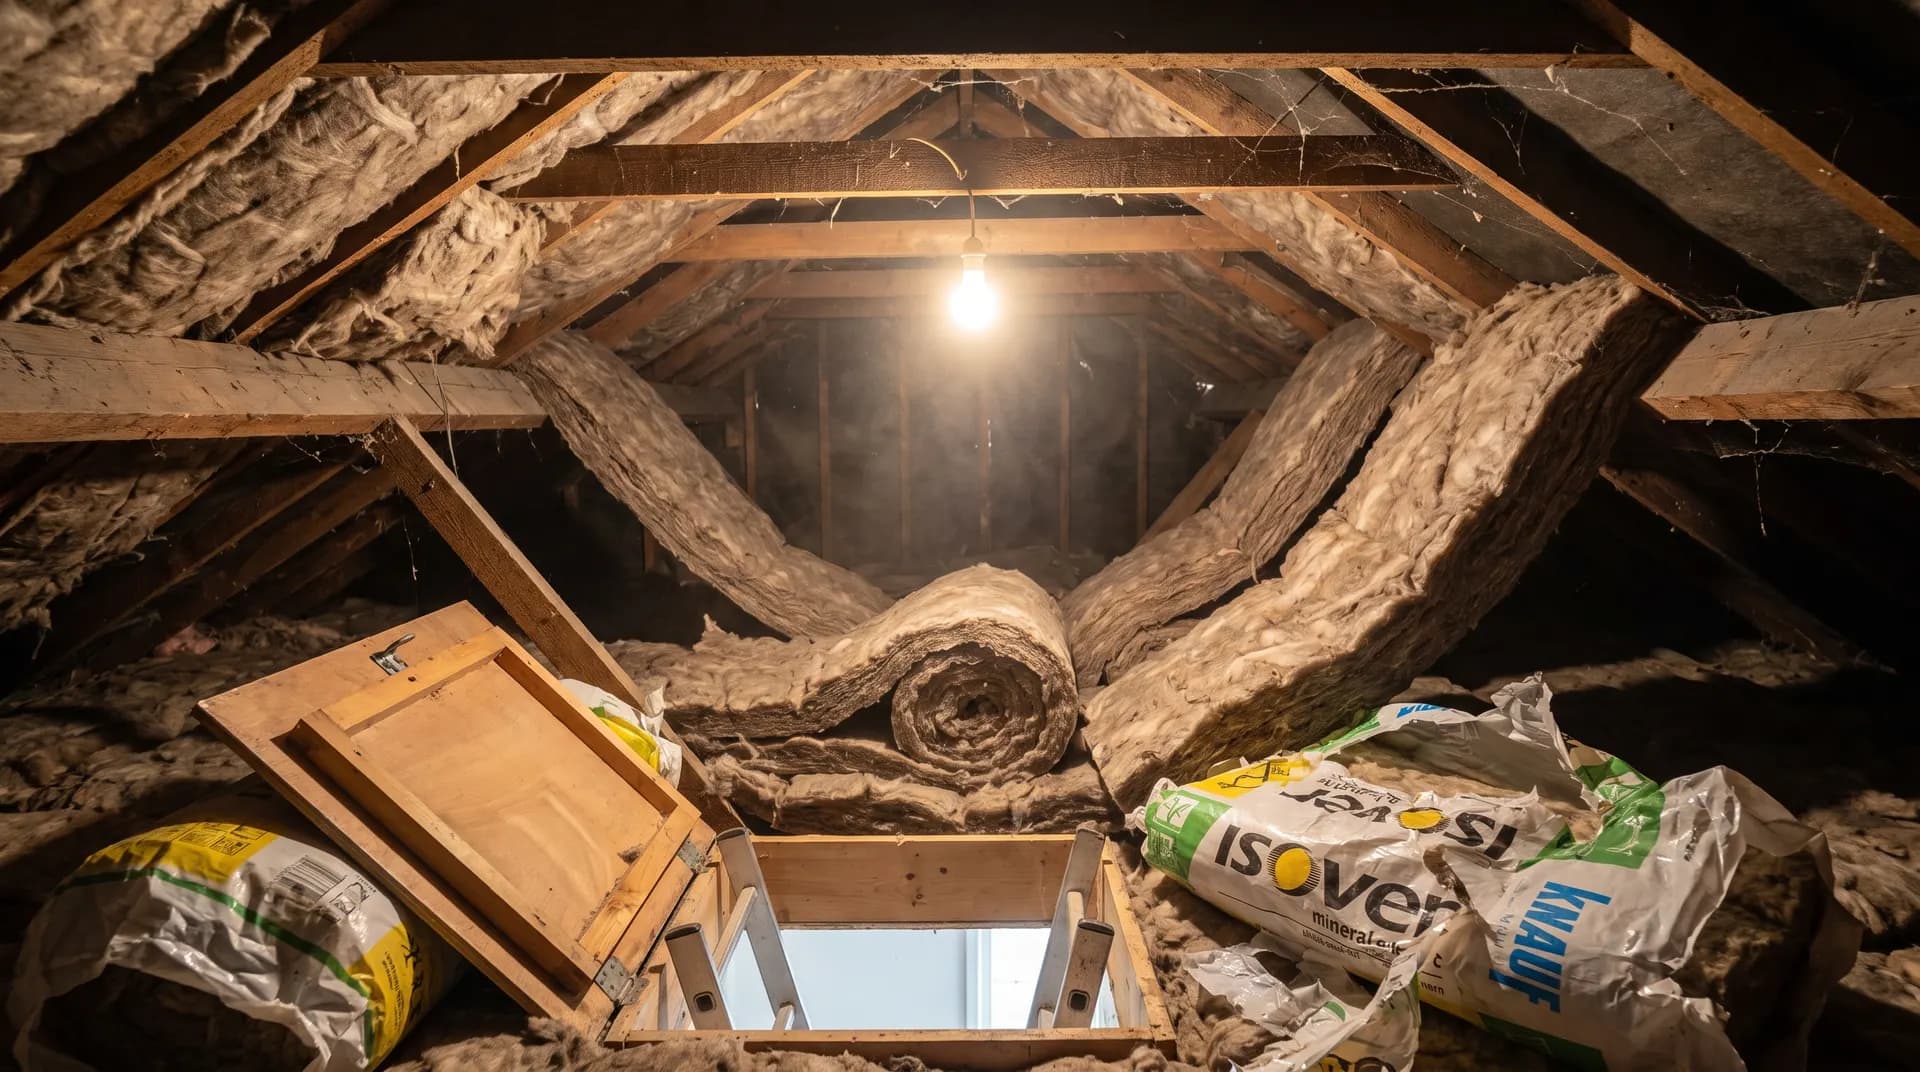
How to Insulate a Loft
A practical guide to insulating a cold loft to current Building Regulations (270mm) — clear and prep the loft, lay the first layer between the joists, cross-lay the second layer over, and seal the hatch and eaves.
- Category
- Insulation
- Difficulty
- Intermediate
- Time
- 1 day for a typical loft
- Read
- 5 min
Insulation · Star Hawk Builders Merchant
A practical guide to insulating a cold loft to current Building Regulations (270mm) — clear and prep the loft, lay the first layer between the joists, cross-lay the second layer over, and seal the hatch and eaves.
5 min read 1 day for a typical loft IntermediatePublished 14 July 2026
Check what you've got
UK Building Regulations require 270mm of insulation at ceiling level. That depth has been the standard since 2021 and gives a U-value of about 0.16 W/m²K — enough to keep the heat inside and the cold out for most domestic properties.
Before you start, work out what's there:
- A loft built before the late 1970s likely has 100mm or no insulation.
- A loft insulated between 2000 and 2020 probably has 200–250mm.
- Anything at or above 270mm already is up to current standards.
If you have downlighters in the ceiling below, make sure they're rated "IC" or "F" for use with insulation — older fire-rated downlighters can overheat when buried in insulation, creating a real fire risk. Replace any that aren't rated, or use downlighter covers to keep the insulation off them.
Tip: check the loft hatch first — old latches pull cold air in from the loft. A draught-proofed, insulated loft hatch is one of the cheapest energy-saving improvements you can make.
Clear and prep the loft
Most lofts have years of accumulated stuff. Be ruthless — toss anything you don't want, move everything you do want into one corner (boxed and stacked neatly), and board out the central area if you want to keep using the loft for light storage. Loft boards are sold in packs of 3 or 4 m², and they slot onto the joists butting up against the cross-laid insulation on top.
Sweep the loft clean before you start. Check for damp patches on the felt, missing tiles on the roof, daylight showing through — fix any of those before you insulate, or you'll bury a problem that gets worse.
Common mistake: burying existing pipework and electric cable in insulation. Identify anything that needs to be reachable — water tanks, central heating headers, electric junction boxes — and build a raised platform over them so you can still access them after the insulation is down.
Wear the right gear
Mineral wool itch. Wear a long-sleeved top, long trousers, gloves and a face mask (FFP2 or better) before you climb into the loft. Eye protection is also strongly recommended — stuff falling from above is one of the top DIY injury causes.
Have a helper at the loft hatch handing you rolls, tools and a clipboard. You don't want to climb back down every five minutes, and you really don't want to step wrong and put your foot through the ceiling below.
Lay the first layer between the joists
Standard ceiling joists are at 400mm centres, so 400mm-wide insulation rolls fit between them perfectly. Start at the eaves and work backwards towards the loft hatch.
Roll out the first layer with the paper or foil vapour-check side facing down (towards the room below), so the vapour check stops moisture from the house rising into the insulation. Butt the edges tightly together — gaps between rolls halve the insulation performance along that gap.
Cut the rolls to length with a long-blade knife or old bread knife, compressing the wool slightly as you cut so the next piece springs back into place. Pack the cut-off into the eaves and odd gaps so there's no un-insulated roof.
Tip: don't compress insulation to fit. Compressed wool loses 50% of its performance. If the joist spacing is awkward, buy narrower or wider rolls to suit, not smaller compression.
Cross-lay the second layer over the joists
Once the whole loft has a layer between the joists, lay a second layer at right angles to the first — running across the joists themselves. This second layer covers the timber joists (which are otherwise a thermal bridge) and takes the total depth up to 270mm.
Most builders use a thinner roll for the second layer — typically 170mm rolls for the first layer, 100mm for the second, both laid to give 270mm total. Butt the edges tightly together and run them wall-to-wall, leaving 50mm clearance around any flue or heat-source.
If you want to board out the loft for storage, the cross-laid second layer is what you board directly onto — fit the boards in a staggered pattern, screwing down through the boards into the joists every 600mm.
Seal the loft hatch and the eaves
Two easy wins often get missed:
- Loft hatch. Make an insulated lid — glue a 50mm piece of rigid insulation board to the back of the existing loft hatch, and fit draught-excluder tape around the rim. This stops the hatch acting as a 600mm × 600mm cooling fin all winter.
- Eaves. Push insulation between the last joist and the wall, right into the eaves. Don't block the soffit ventilation — leave a clear 25mm air gap between the top of the insulation and the underside of the roof felt. Use eaves ventilators if you need to keep the insulation higher and still vent the loft.
Insulate any pipework in the loft — water pipes especially. Cold-water pipes will freeze the first frost they pass through an unheated loft, and lag is much cheaper than a burst pipe.
Materials and tools checklist
Materials
- 170mm mineral wool rolls for the first layer (between joists)
- 100mm mineral wool rolls for the second layer (cross-laid over joists)
- Loft-legs or battens (if boarding for storage)
- Loft boards (optional, for storage)
- Rigid insulation board for the loft hatch
- Draught-excluder tape for the hatch rim
- Pipe insulation (for any pipework in the loft)
- Downlighter covers (if needed)
Tools
- Long-sleeved top, gloves, FFP2 mask, eye protection
- Long-blade knife or bread knife for cutting wool
- Tape measure
- Staple gun (to fix the vapour check to the joists if needed)
When to call a specialist
A simple rectangular loft in a terraced or detached house is a confident DIY project; an awkward loft with dormers, multiple heights, or pre-existing spray foam is more involved. Get a specialist in if:
- The loft has spray foam insulation that needs removing or re-doing
- The roof structure has a history of condensation or rot
- You want to upgrade to a "warm-roof" system as well as insulating the ceiling
- The joists aren't deep enough to take the target depth
- The ceiling has many downlighters that need upgrading or covers
We supply mineral wool rolls, rigid insulation, loft boards, pipe insulation and downlighter covers at trade prices, with next-day delivery across the South East.
Frequently asked questions
How much loft insulation do I need?
Current UK Building Regulations require 270mm of mineral wool insulation at the ceiling level. That's roughly two layers: 100mm or 170mm between the joists, then 100mm cross-laid over the top to cover the joists themselves.
What is the difference between blanket and board loft insulation?
Mineral wool rolls (blanket) are the cheapest and easiest to lay between ceiling joists at standard 400mm spacing. Rigid insulation boards (PIR or phenolic foam) give better thermal performance per mm but cost more and are fiddlier to cut. Most domestic lofts use rolls.
Can I use foil-backed insulation in my loft?
Foil-backed PIR boards work but aren't usually DIY-friendly — they need careful joint-taping to perform. Most homeowners use plain mineral wool rolls and rely on the loft's existing vapour-permeable membrane. Foil-back products can also be a fire risk in older lofts with downlighters.
Do I need to remove old insulation before adding more?
Not usually — old insulation that's dry, clean and uncompressed can be left in place and topped up to 270mm. Remove old insulation if it's damp, mouldy, compressed, or contaminated with rodent droppings. Use a face mask when handling old mineral wool.
Will insulating my loft need Building Control sign-off?
Generally no for a like-for-like upgrade. If you change to a different system (spray foam, for example) or you're in a listed building, check with Building Control first. With spray foam insulation you also lose the option to use the loft for storage.
Ready to start? Get a insulation materials list.
Send us your measurements or project plan and we'll come back with stock, a written quote and a delivery slot — usually within the hour during trade hours. from £300 in materials for a small terraced loft for typical installs.
Related how-to guides
More step-by-step walkthroughs to help your project run smoothly.
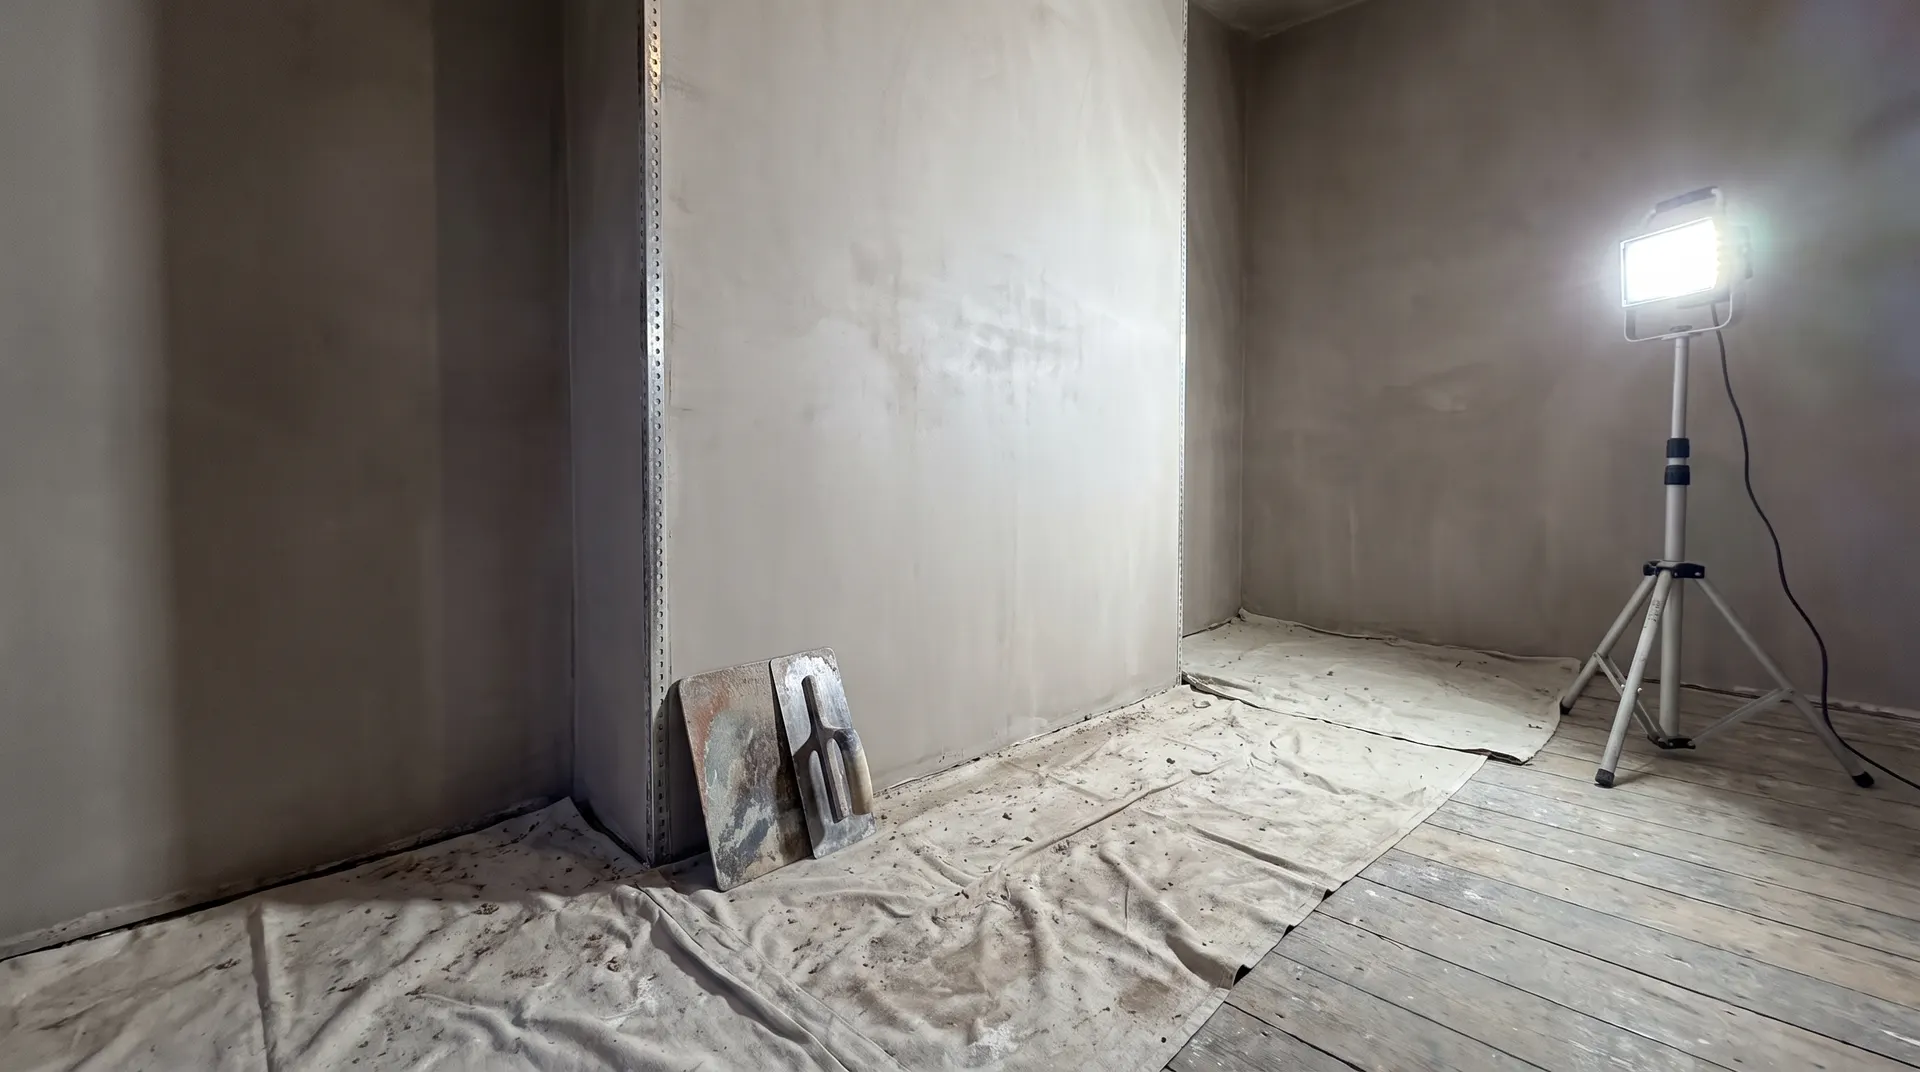
How to Plaster a Wall
A step-by-step guide to skimming a wall with finishing plaster, from wall prep and PVA through mixing, the scratch coat, the float coat and the final trowel.
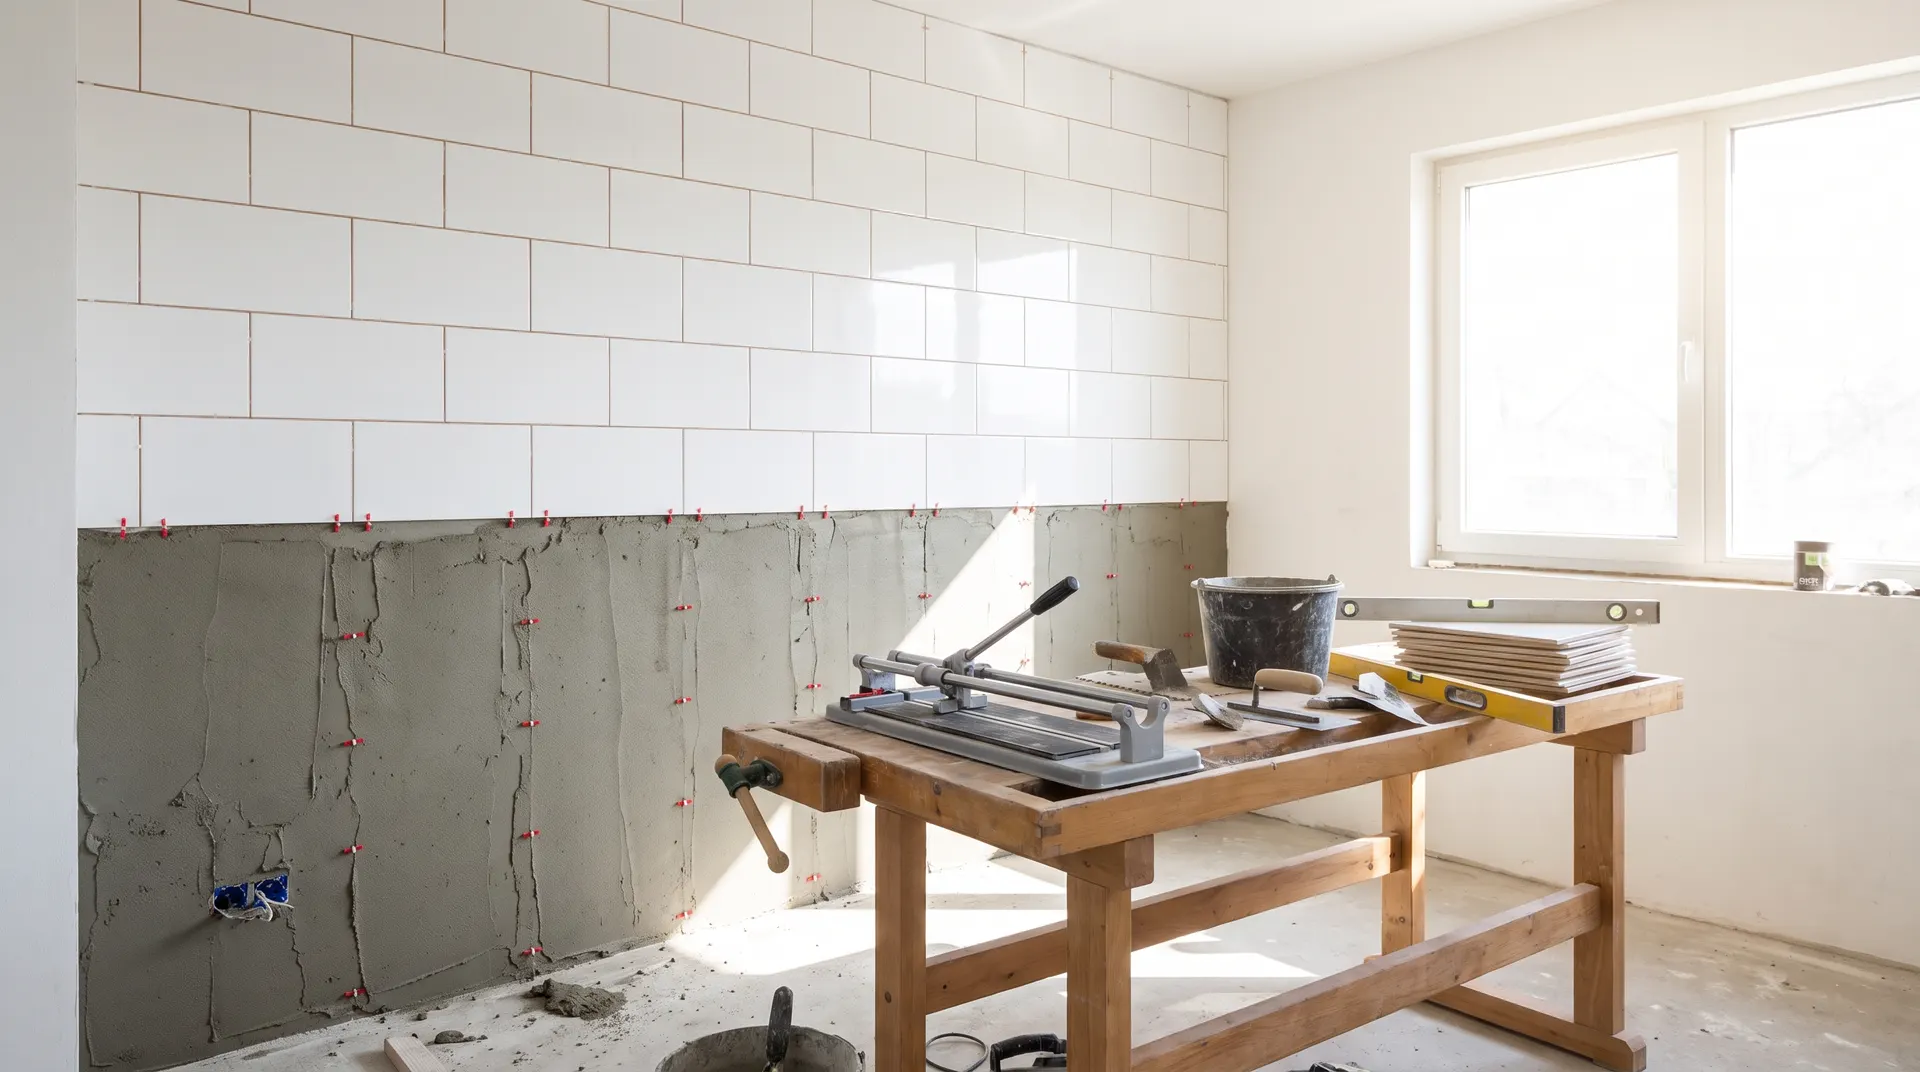
How to Tile a Wall
A practical guide to tiling a bathroom or kitchen wall — work out the layout, fix the tiles with adhesive, cut around sockets and pipework, grout cleanly and seal the corners.